How We Turned Our House into a Giant Foam Box, Part II — Ceiling Insulation
After spending months painstakingly insulating our walls, Chris to turned his attention to insulating the vaulted ceiling.
You may be wondering, Is this guy a glutton for punishment? Valid question.
In many ways, insulating the ceiling was even harder than insulating the walls. The assembly is thicker and more complex. To reach the ceiling, Chris had to install the insulation while standing atop a ladder, which made the job awkward and dangerous. Moreover, much of the insulation work happened during the hot summer months, when the air temperature at ceiling height often neared 100 degrees. It was laborious and slow-going. In the end, the process lasted over 4 months.
So yes, maybe Chris is a bit of a glutton for punishment. But for the end product of a foam-filled, air-sealed, attractive cathedral ceiling with an insulation value of R46 — creating a comfortable home with steady indoor temperatures and low energy bills year round — there was no question in Chris' mind he wanted to do it.
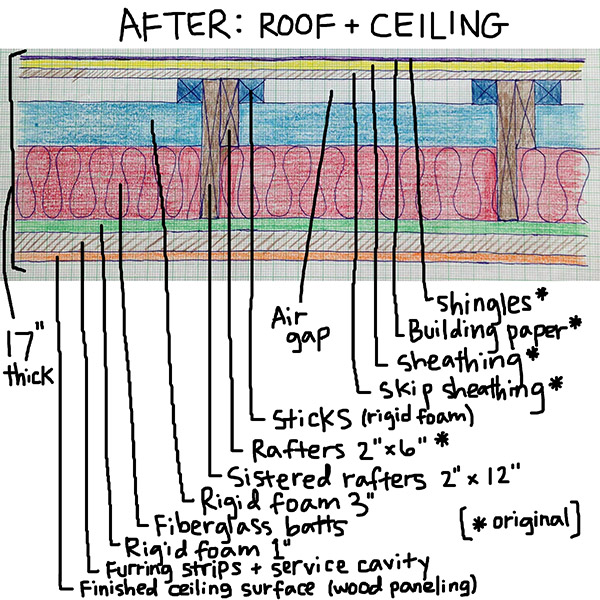
Since we converted our flat ceiling to a vaulted ceiling, the ceiling and roof became one and the same. So our roof went from zero insulation to SUPERinsulation. Here are diagrams (drawn by Chris, labeled by me) showing the assembly before vs. after:
That's a big change! By the time Chris is through with the retrofit, our ceiling/roof will have 10 distinct layers and be 17 inches thick. Wowza. Let's walk through the insulation phases one by one.
Phase 1: Rigid foam (3 inch) & ventilation
Chris wanted to ensure that the finished ceiling/roof assembly was properly ventilated so that any future moisture that gets into the insulation (e.g. from rain) is able to evaporate. He did this by constructing long "chutes" of air running along the roof rafters, allowing air to flow upwards.
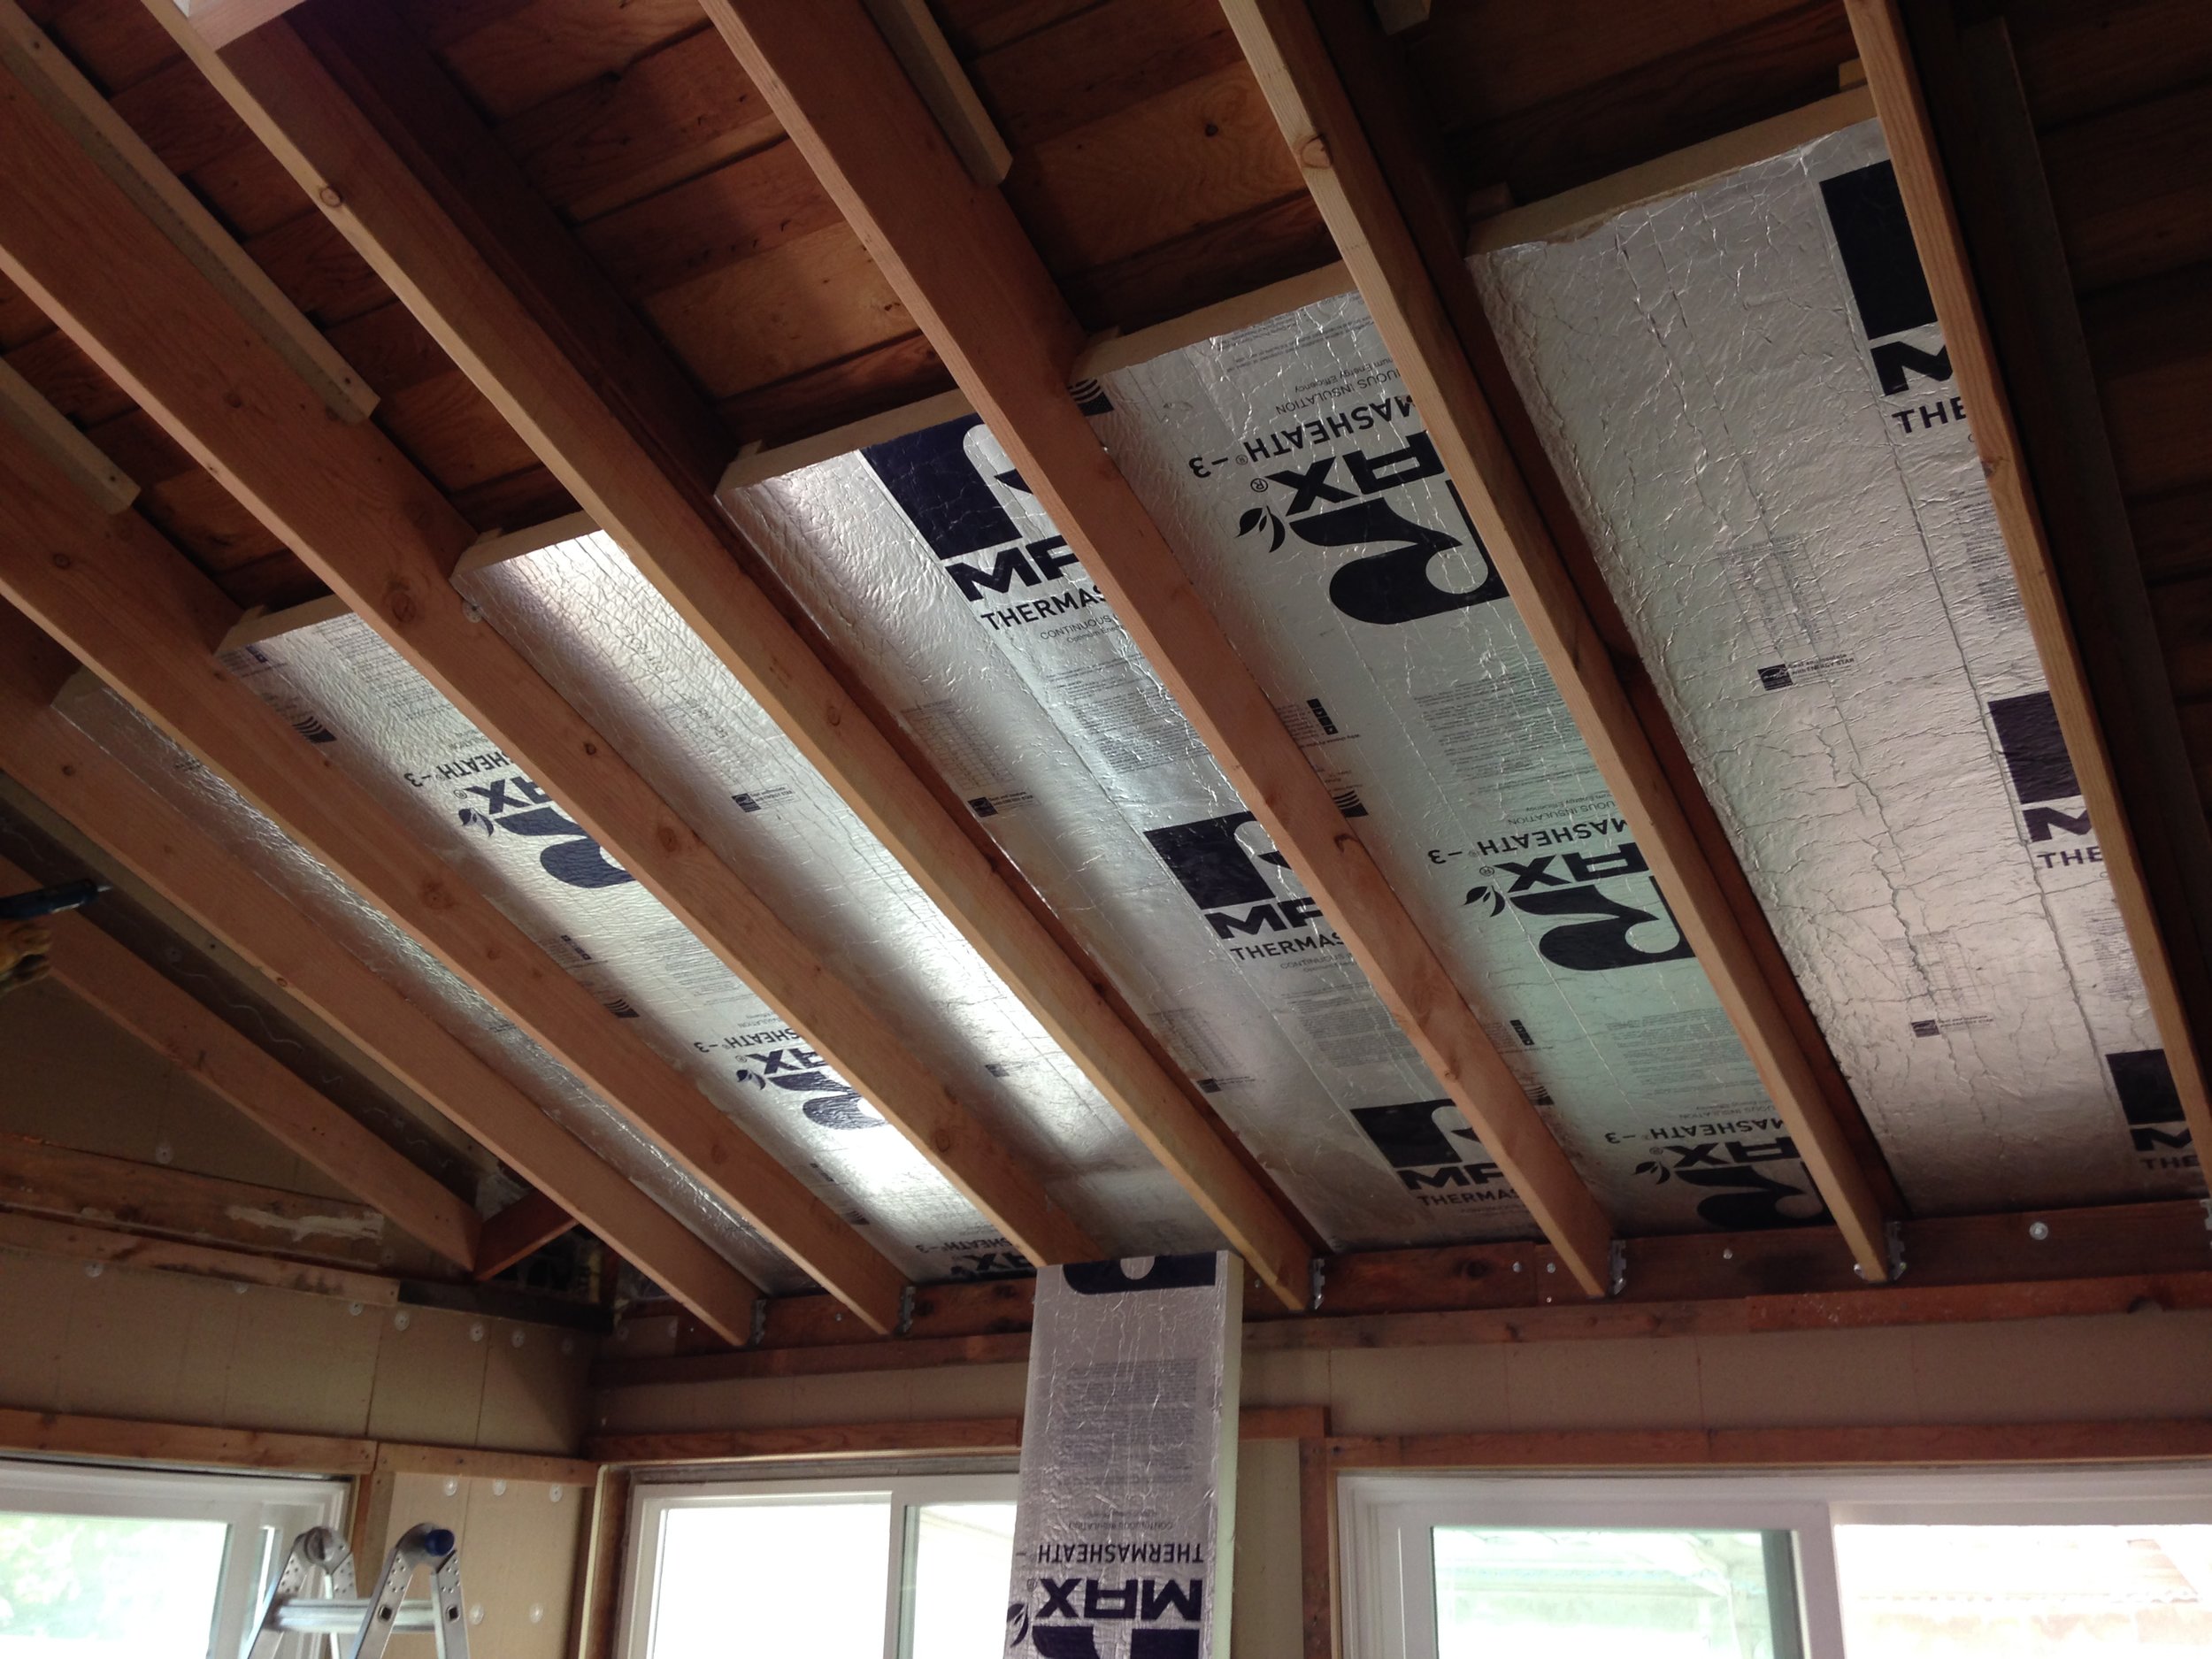
Often people install plastic vent baffles for this purpose, but since Chris was planning to insulate using polyisocyanurate rigid foam, he decided to use the foam itself to serve as the chutes (see this fun video). Two birds with one stone! Here is the first (partial) test chute that he installed, using 3-inch rigid foam:
Notice the panel of foam is resting on two small "sticks" of foam, creating a gap in the middle for air to flow. As you probably guessed, what you see in the photo is just half a chute — when it's complete it will extend all the way up to the ridge. Hooray for ventilation!
For air to flow successfully through each chute, there needs to be a way for air to 1) enter, and 2) exit. In the photo above you can see that Chris created openings at the base of the rafters (where daylight is shining through along the top of the wall) — he installed these plastic vents in them and that's where air can enter the chutes from outside.
But where will the air exit? At the ridge (the highest point of the roof). So Chris cut out openings along the ridge too:
Then he climbed on top of the roof and installed a ridge vent, carefully covering it with ridge shingles. That way air from inside can flow outside, but if it rains, water will not leak into the house.
It may not be obvious by looking at the photo below, but this day was really hot and Chris' knees were burning!
Another benefit of ventilating the roof in this manner is that on very warm days, hot air (which rises) will flow out the top vents, drawing cooler air into the chutes from the bottom — which is a passive way of cooling the house down. #science
Chris installed dozens of rigid foam sticks in the rafter bays. Ready to be chute-ified!
Working by yourself can be exhausting and lonely (even when there are unlimited podcasts to listen to), not to mention s-l-o-w! One weekend, Chris organized a work party (a.k.a. bribed people with free pizza), and luckily, my brother Bin and our adventurous friends Merc and Dan showed up to help. With 4 people, they were able to install a whole bunch of chutes in one afternoon.
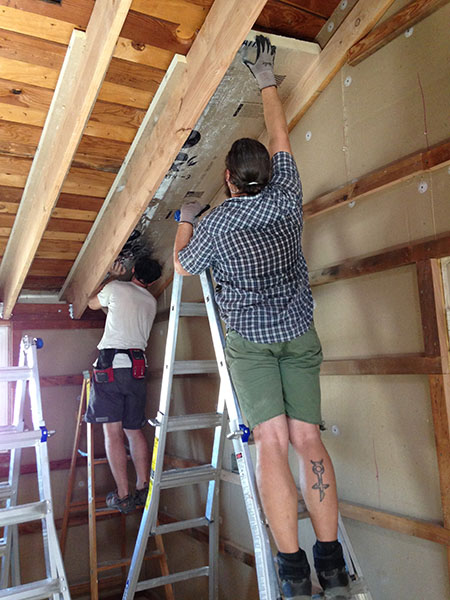
As with the wall insulation, every piece of rigid foam had to be carefully measured and custom cut for each bay...
...and then gently pounded into place. To keep the foam from falling out, foam glue was applied on the sides of each sheet.
It's a chute-building party!
Alas, all parties must end, but they made huge progress. Look at all that beautiful insulation! Thank you Bin, Merc, and Dan for your generous help!
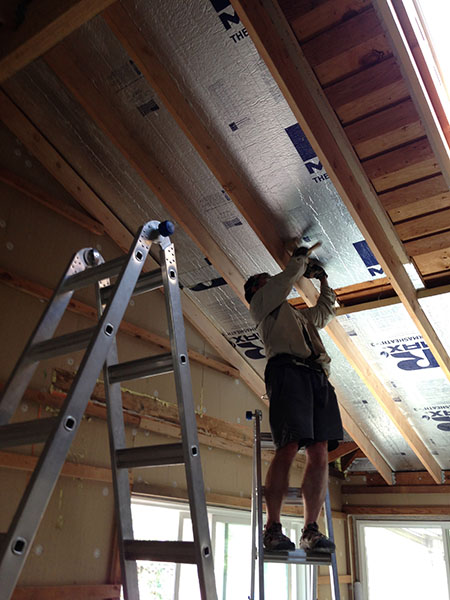
Over the next few weeks, Chris continued to slowly but steadily install the foam on his own. As he progressed, he had to climb ever higher on the ladder. Handling a 8-foot long piece of foam while balancing on top of a ladder (in sweltering heat) is no small feat, people!
Finally, Chris installs one of the last pieces...
Ta da! The ventilation chutes and first layer of rigid foam are complete. Bask in the shiny awesomeness.
Of course, insulation doesn't work at its best if there are leaky seams. So Chris made sure to air seal (with acoustical sealant and canned spray foam) along all the seams of the rigid foam, creating an insulation layer that is completely airtight.
Phase 2: Fiberglass
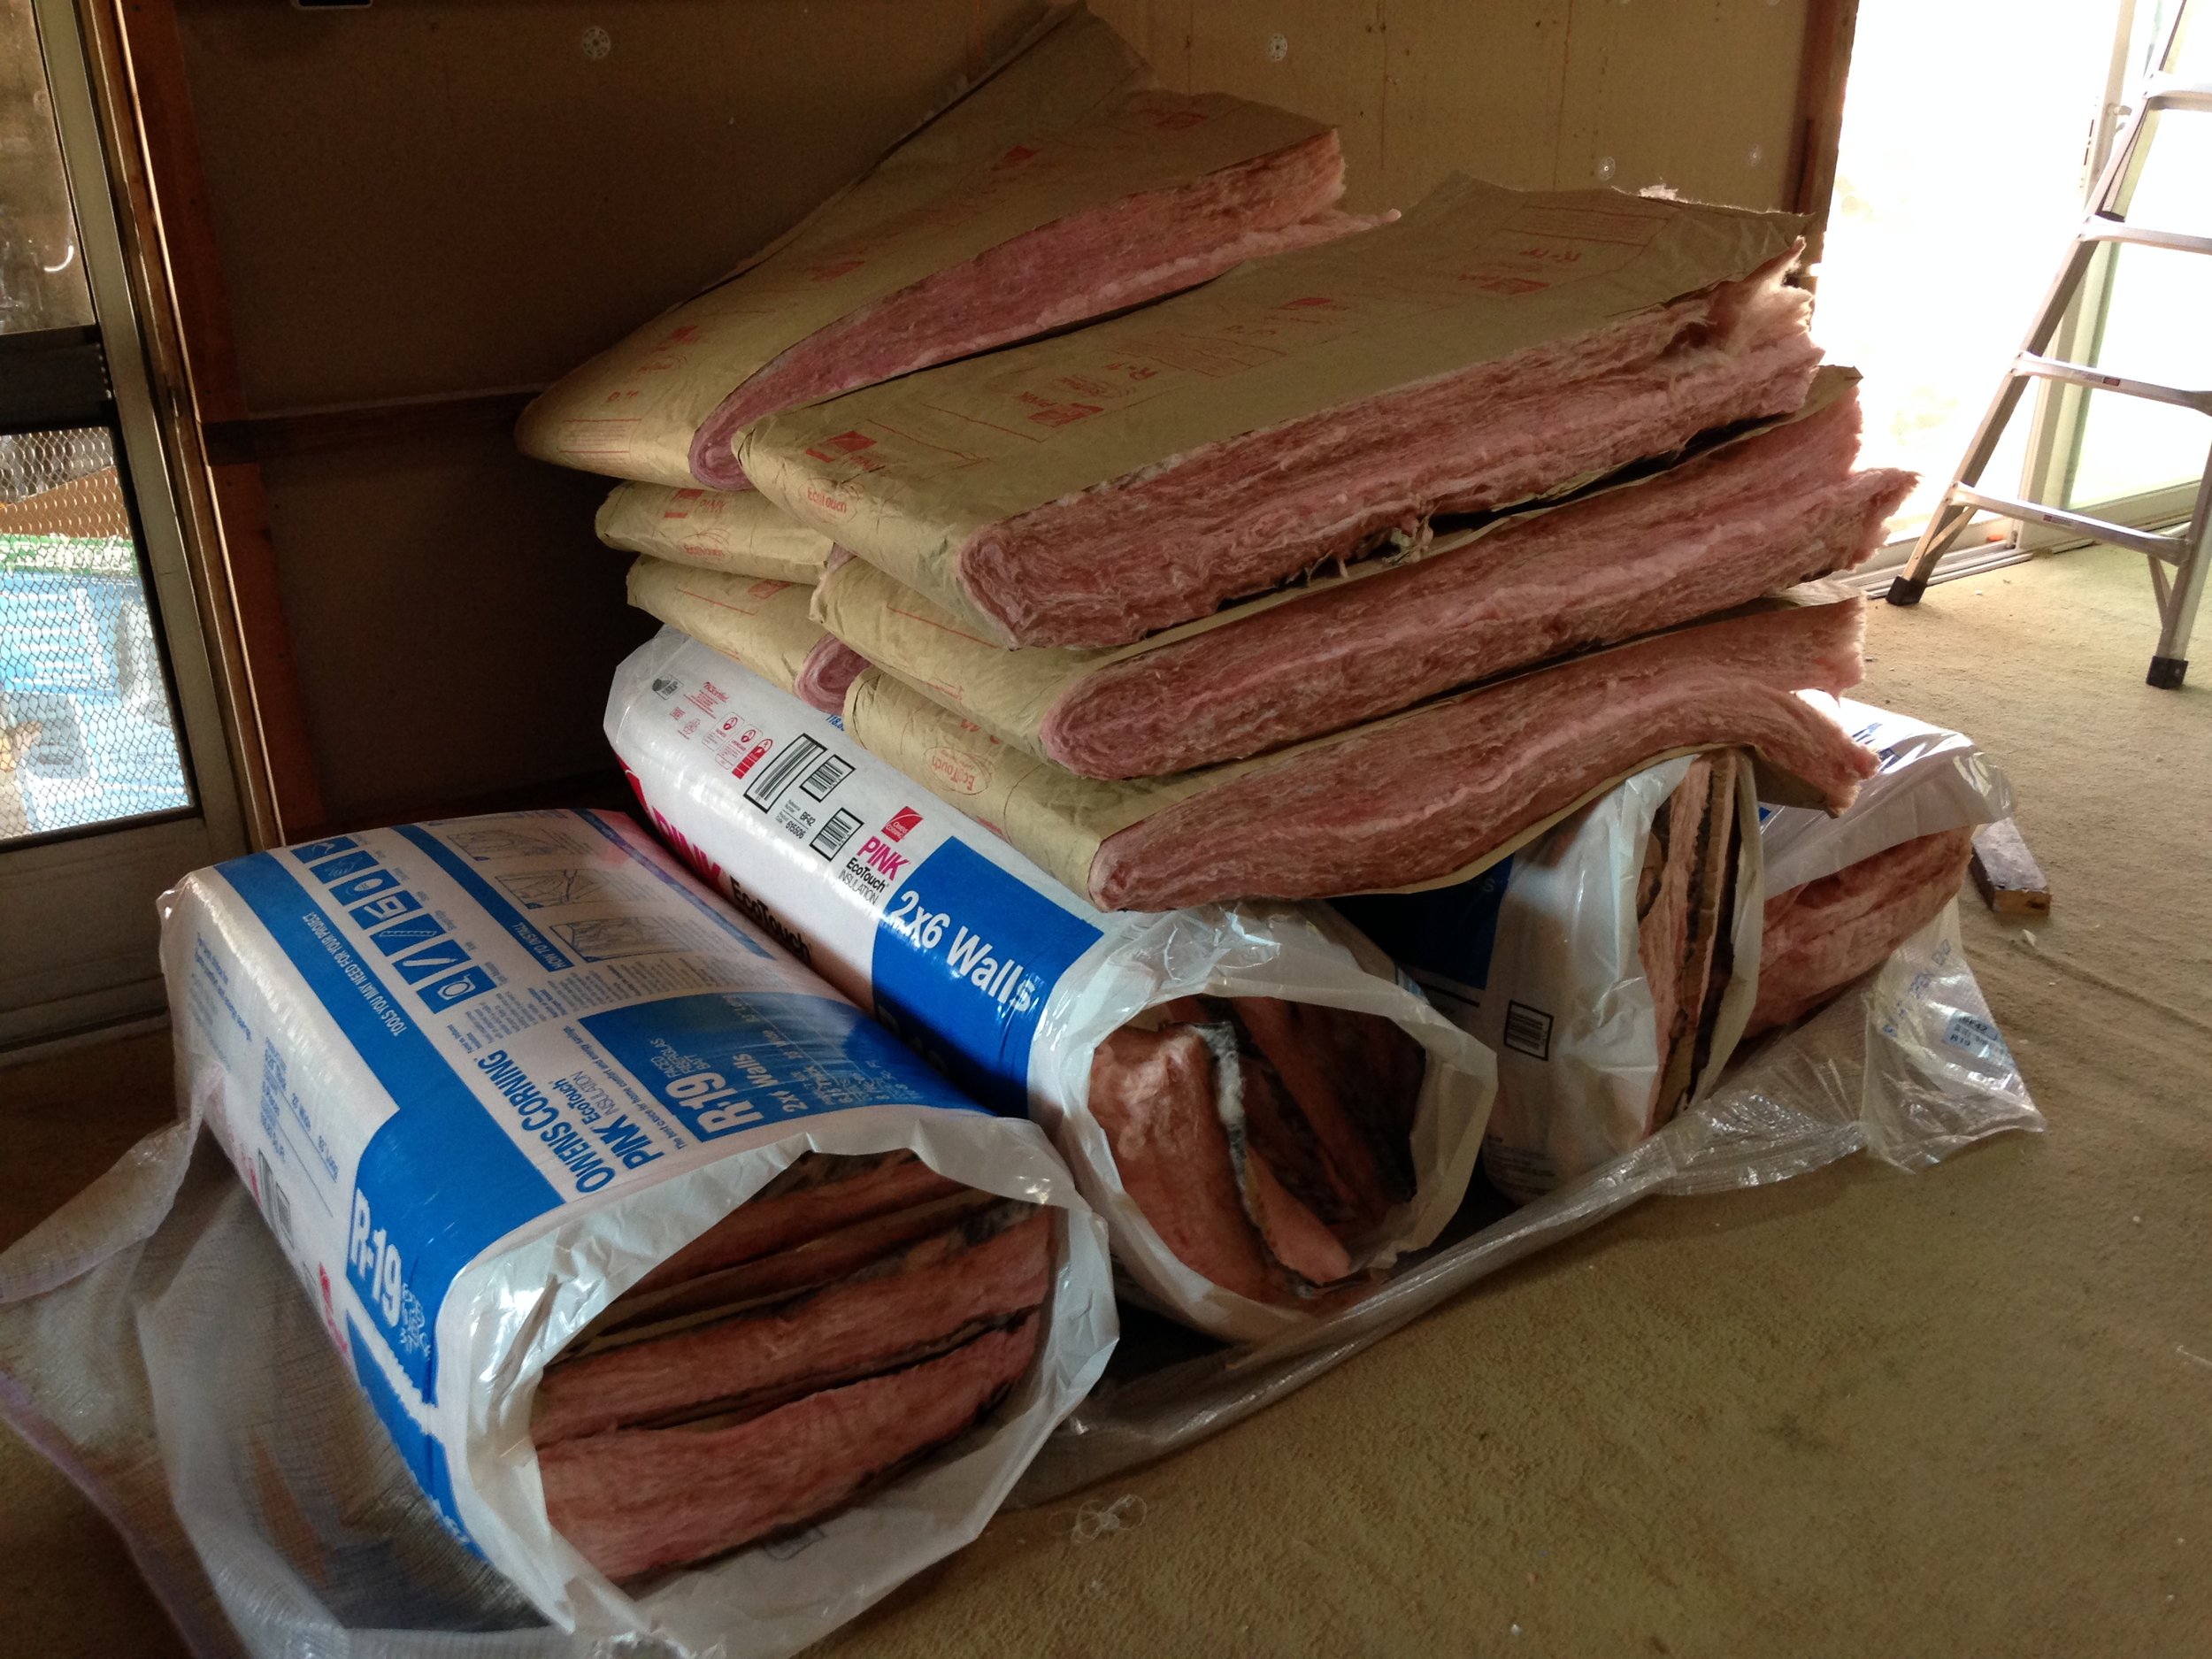
After the rigid foam, the next layer was fiberglass batts. That's the cotton candy-looking stuff:
It may look soft and fluffy, but you don't want to roll around in it because millions of teeny tiny spiky things will become embedded in your skin, and you will be thoroughly itchy.
Thankfully these are kraft-faced batts, which means they are covered on one side by a paper material. This is designed to keep out moisture, but it also makes it the batts easier (and less itchy) to handle and install.
Chris installed the fiberglass batts by stapling the paper facing to the rafters. This isn't a particularly labor-intensive process, but because the batts were so long and floppy, and Chris was trying to install these things by himself so high up, it was rather awkward.
It also got challenging when he had to get into tight corners. But then again, maybe he's just taking a nap.
Even with all the awkwardness, the fiberglass batts went in much faster than the rigid foam.
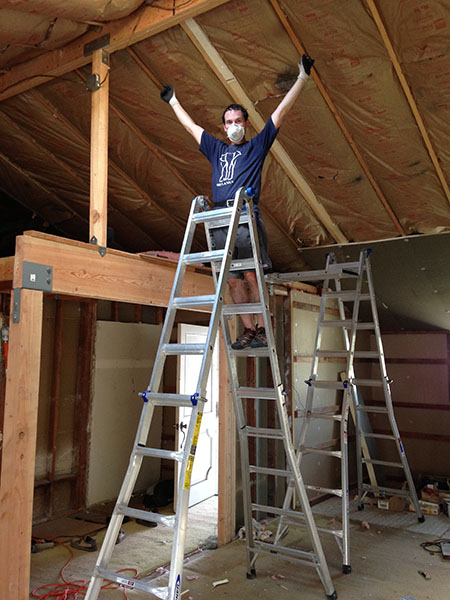
Last batt is in! I'm the king of the (insulated) world!
Phase 3: Rigid foam (1 inch)
Similar to what he did with our walls, Chris next installed yet another layer of rigid foam, this time 1 inch thick and continuously across the rafters.
Why more rigid foam? To remove thermal bridging through the rafters (see Part I for an explanation of thermal bridging). Basically, it's to make sure every square inch of the ceiling is insulated.
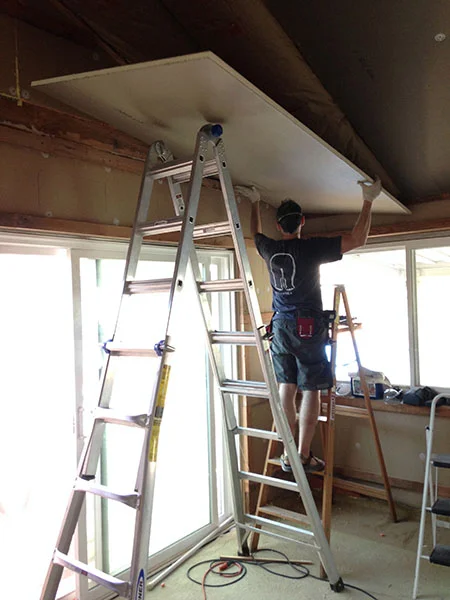
The foam sheets are not very heavy, but at 4'x8' in size they are rather unwieldy for a single person to handle. Chris got creative with ways to hold up the large sheets while on a ladder (such as using another ladder).
Two layers of rigid foam, filled with fluffy pink fiberglass. That's right, it's an insulation sandwich! Om nom nom. Looks almost like an ice cream sandwich.
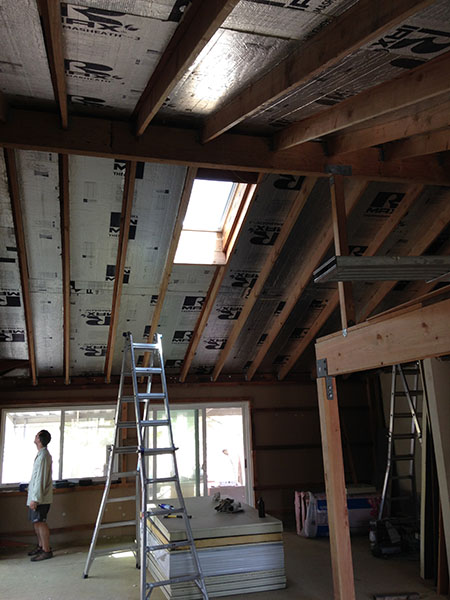
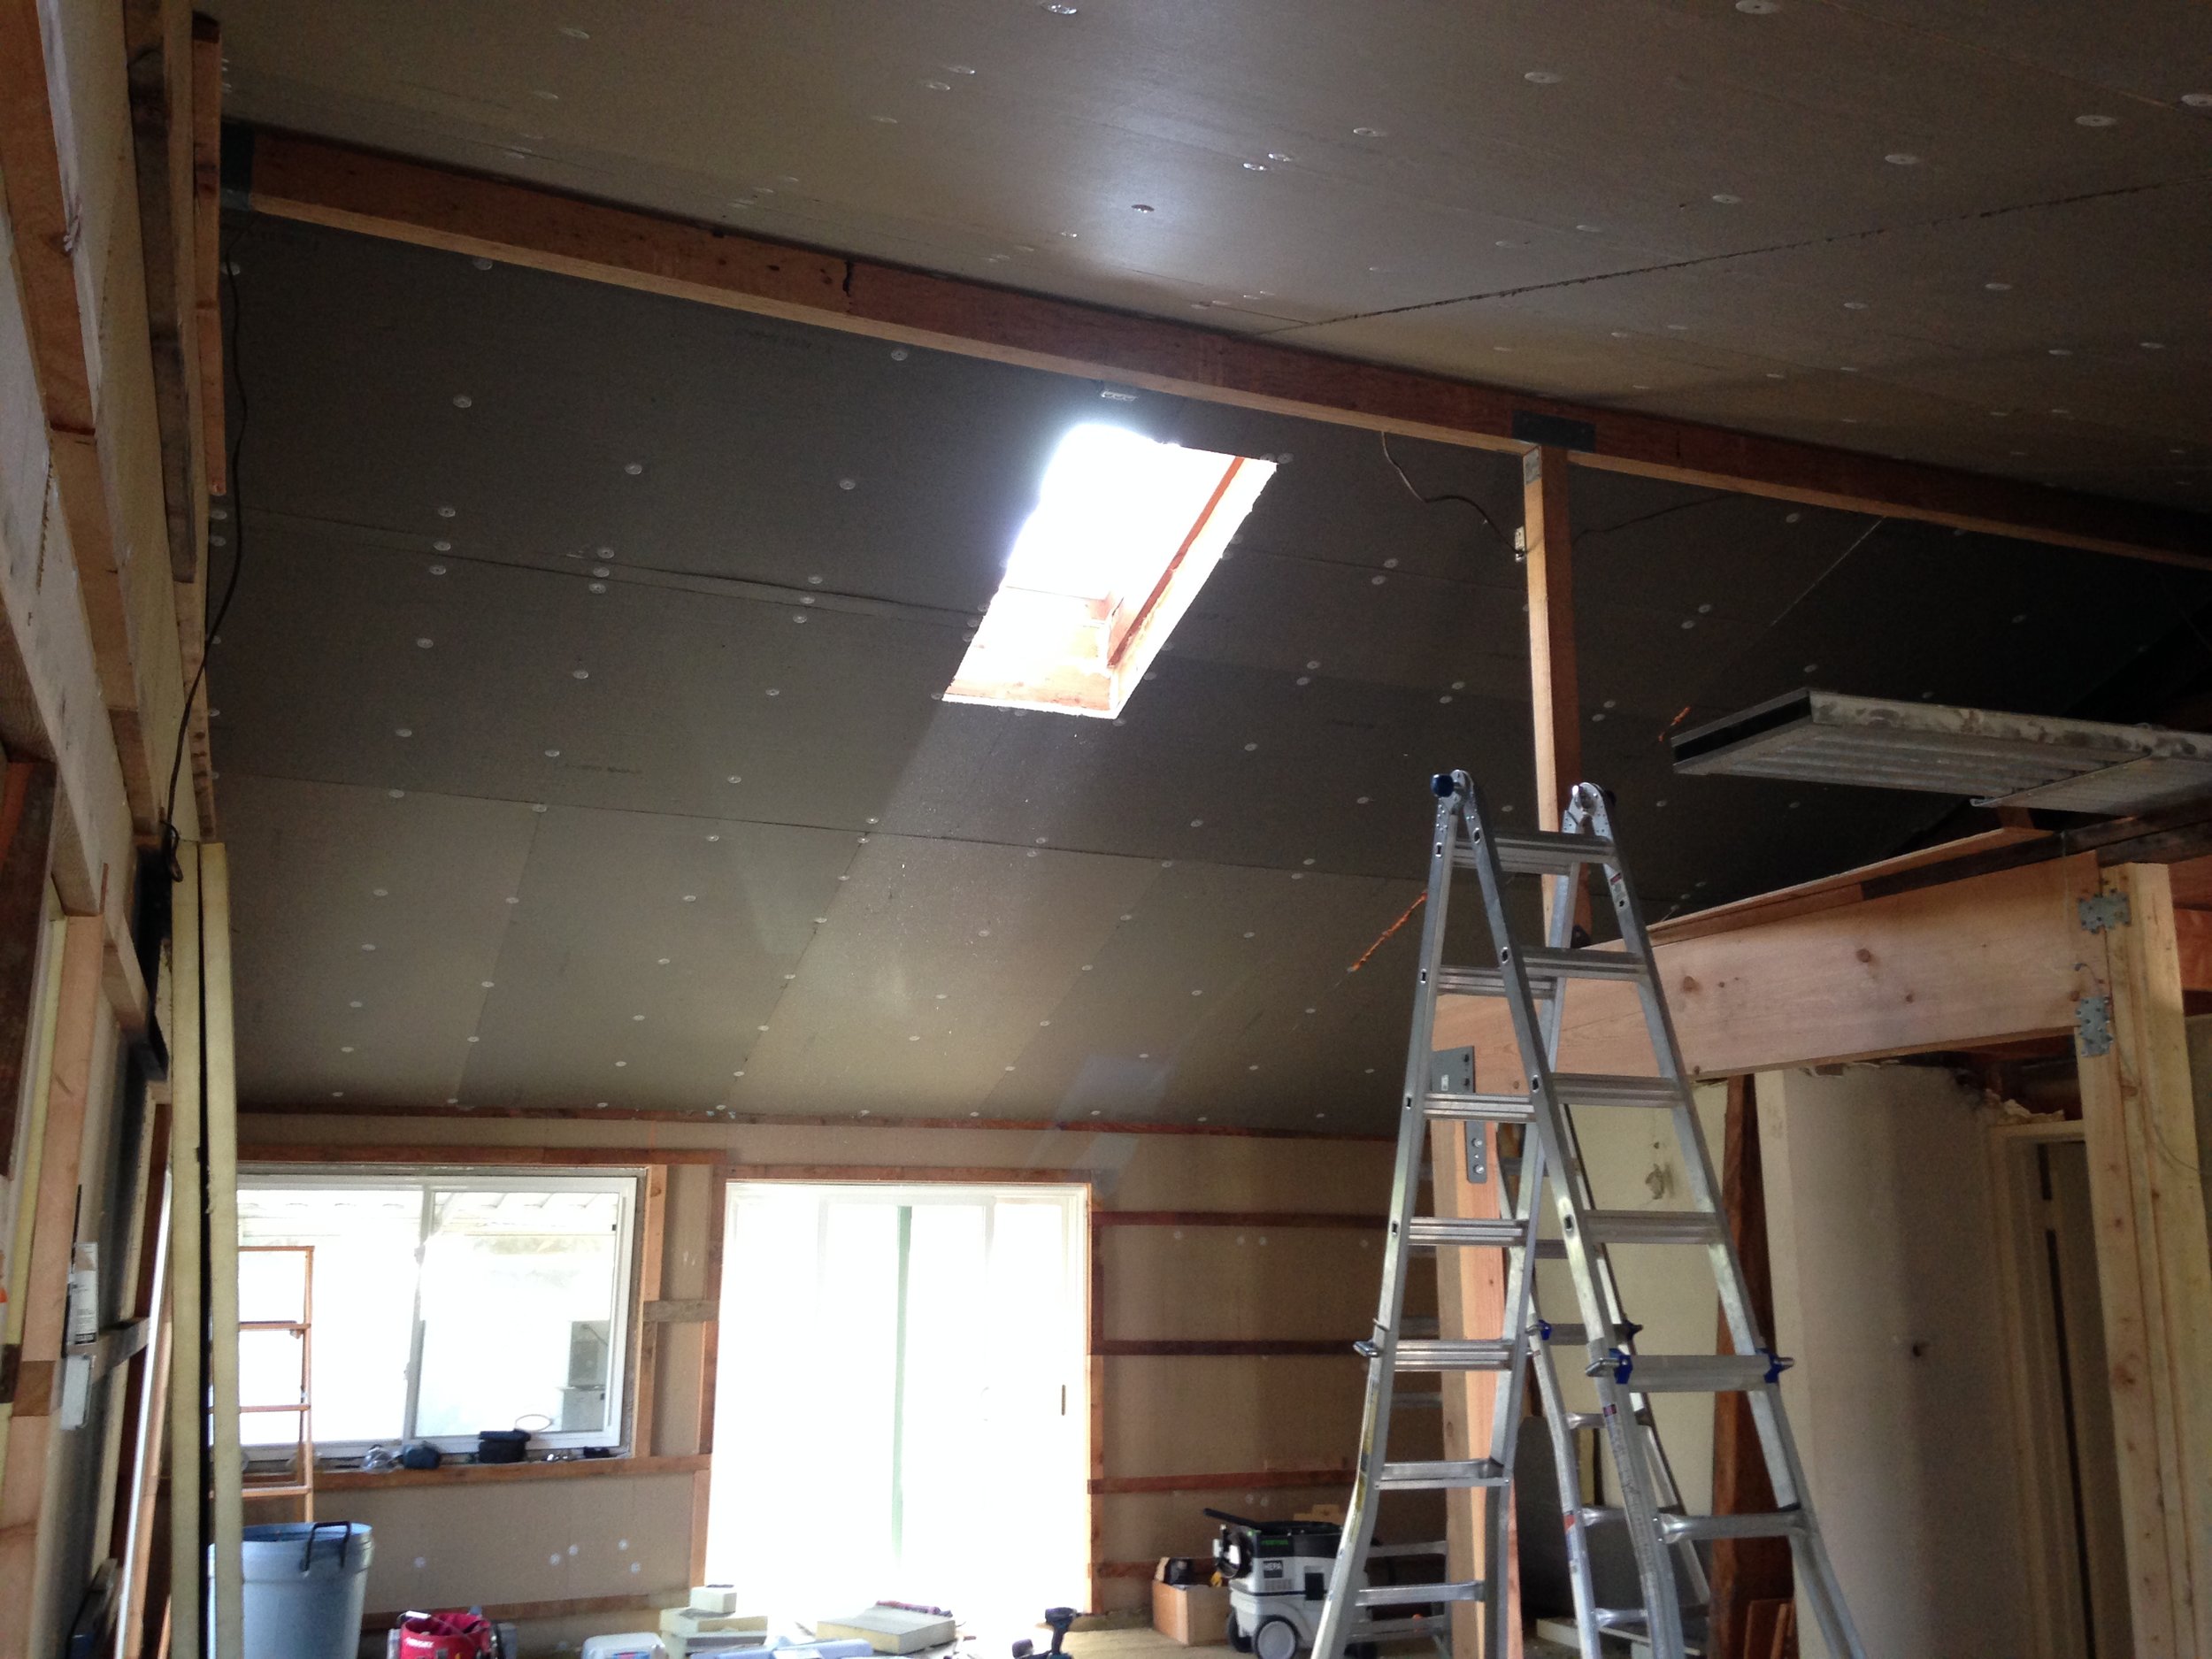
Fast forward a few weeks, and behold! The fully insulated ceiling. 10 inches of insulation (and months of Chris' blood, sweat, and tears) hidden behind a dull gray facade.
It looks nice and tidy in the end, but getting to this point was not. As a reminder of how complicated and messy the insulation process can be, check out this junction where wall meets ceiling in our kitchen. See if you can count how many different materials there are! It's all out of sight now, but we'll always remember that it's there.
Once more, Chris meticulously air sealed the final layer of rigid foam with acoustical sealant (the white stuff) or canned spray foam (the orange stuff). Because darn it, you can never air seal enough.
The air sealing ensures that there are no thermal leaks in the ceiling of our giant foam box house.
Phase 4: Furring strips & service cavity
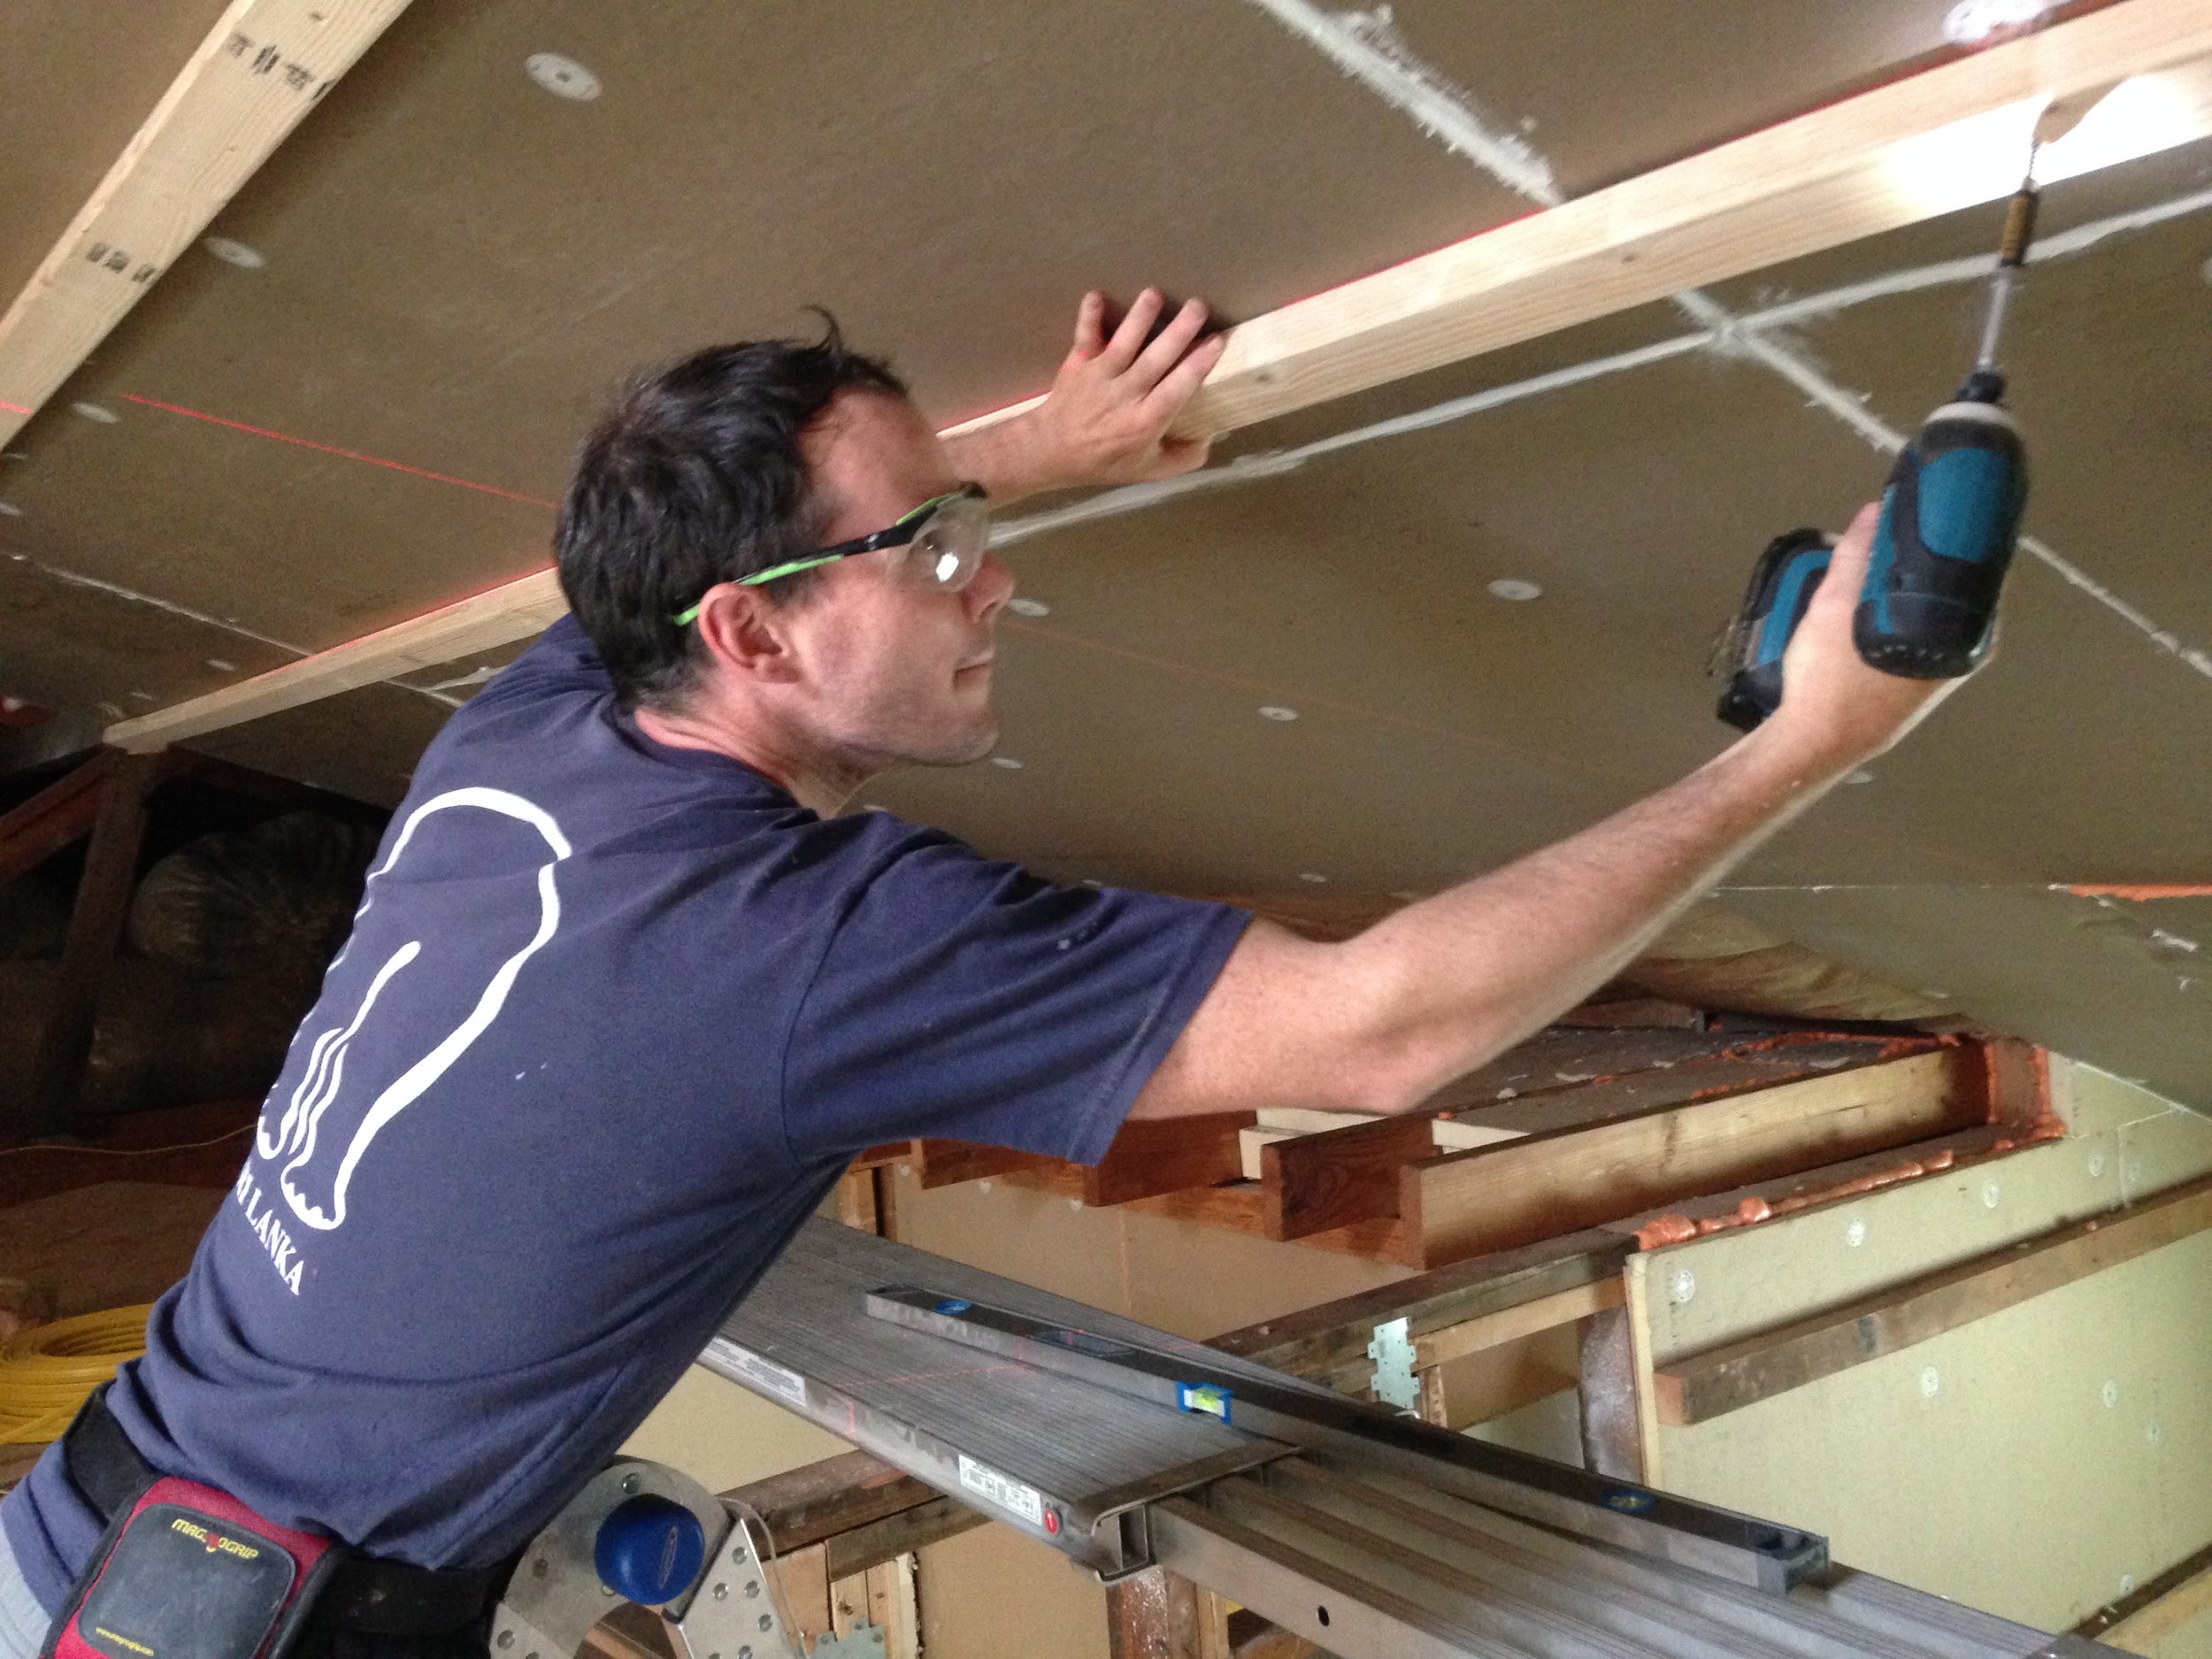
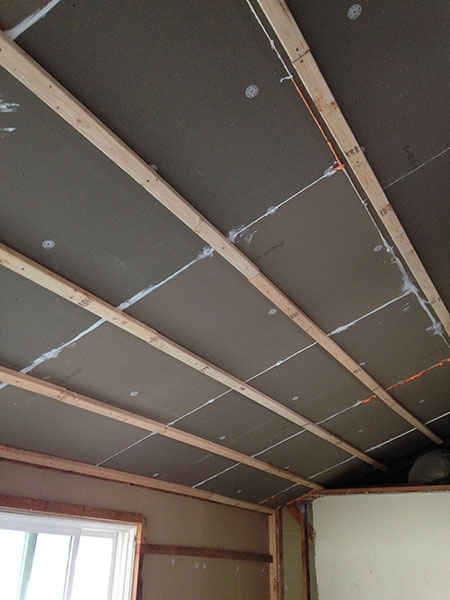
As with the walls, before putting on the finished ceiling surface we needed to create a service cavity where we can run wiring for electrical and HVAC systems. To do this, Chris installed furring strips using 2"x3" pieces of wood. He used a laser level to ensure that the strips were perfectly horizontal.
The furring strips are also where Chris can anchor the junction boxes for lighting fixtures later on.
Here's Chris in the home stretch. Can you see the determination in his face??
At long last — the furring strips are in, and the insulation is complete! We are ready for wiring, lighting, and the finished ceiling surface (which will be wood paneling).
It was long, it was laborious, it was sweaty... but it was worth it. The best thing about insulation is that if it's done right, it only needs to be put in once. Once it's in, it pretty much works forever (or at least for the rest of the building's functional lifetime).
With superinsulation installed, our house now needs less than half the air conditioning it used to, and an even smaller fraction of heating. If all homes had this level of insulation, imagine how much energy (and greenhouse gas emissions) could be saved. I've said it before and I'll say it again: Insulation is unsexy, but it makes a difference!
READ MORE:


