Epic House Update #1: Skylight | Crawl Space | Heating/Cooling | Wiring
Okay everyone, it’s been 7 months since our last post. And we were already months behind then... now our blog is woefully, embarrassingly out of date. Apologies!
So here’s our attempt at a massive “catch up” to bring our posts up to the present(ish) date. While each of these topics deserves its own detailed post, we unfortunately don’t have time to do them all justice right now. So instead, here is a HUGE dump of photos (some going back to 2017!) with brief text explanations. Better than nothing, right?
We are happy to answer detailed questions so feel free to leave a comment or send us a message about anything here.
This is part 1 of 3, which covers:
For more updates, check out: Part 2: Drywall | Flooring | Lighting | Loft and Part 3: Kitchen
Ready? Here we go!
SKYLIGHT
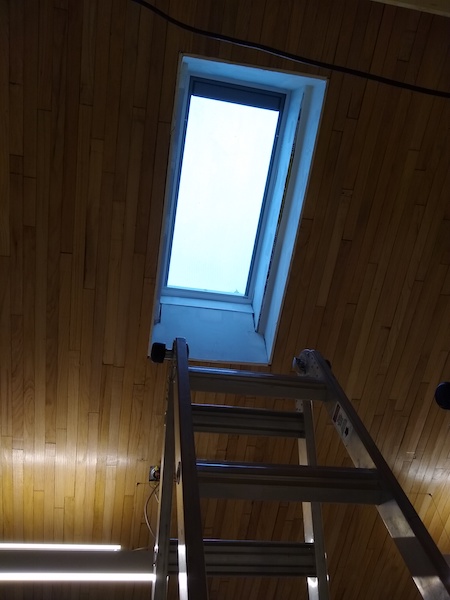
We did this a loooong time ago but never posted about it. Chris installed a skylight in the vaulted ceiling to bring in more natural light into the dining and living room areas.
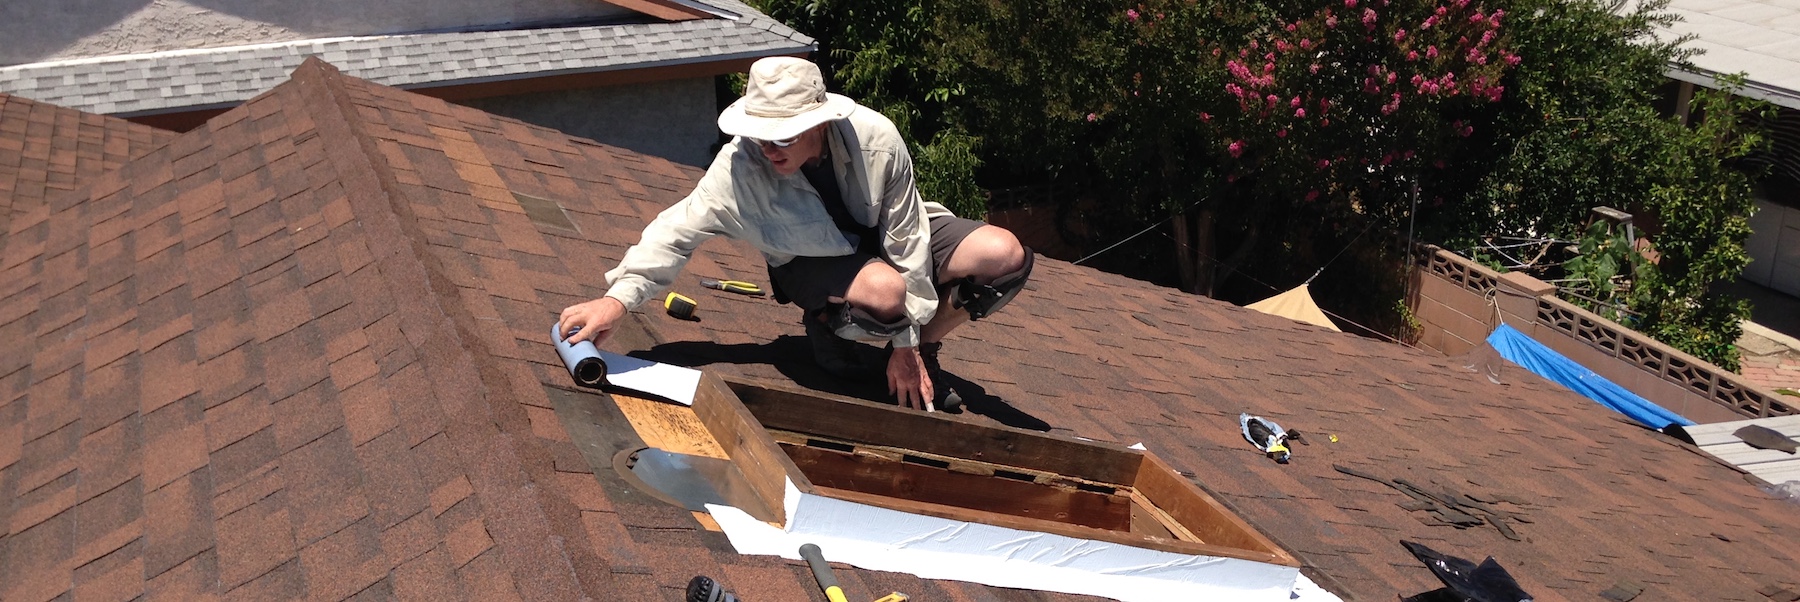
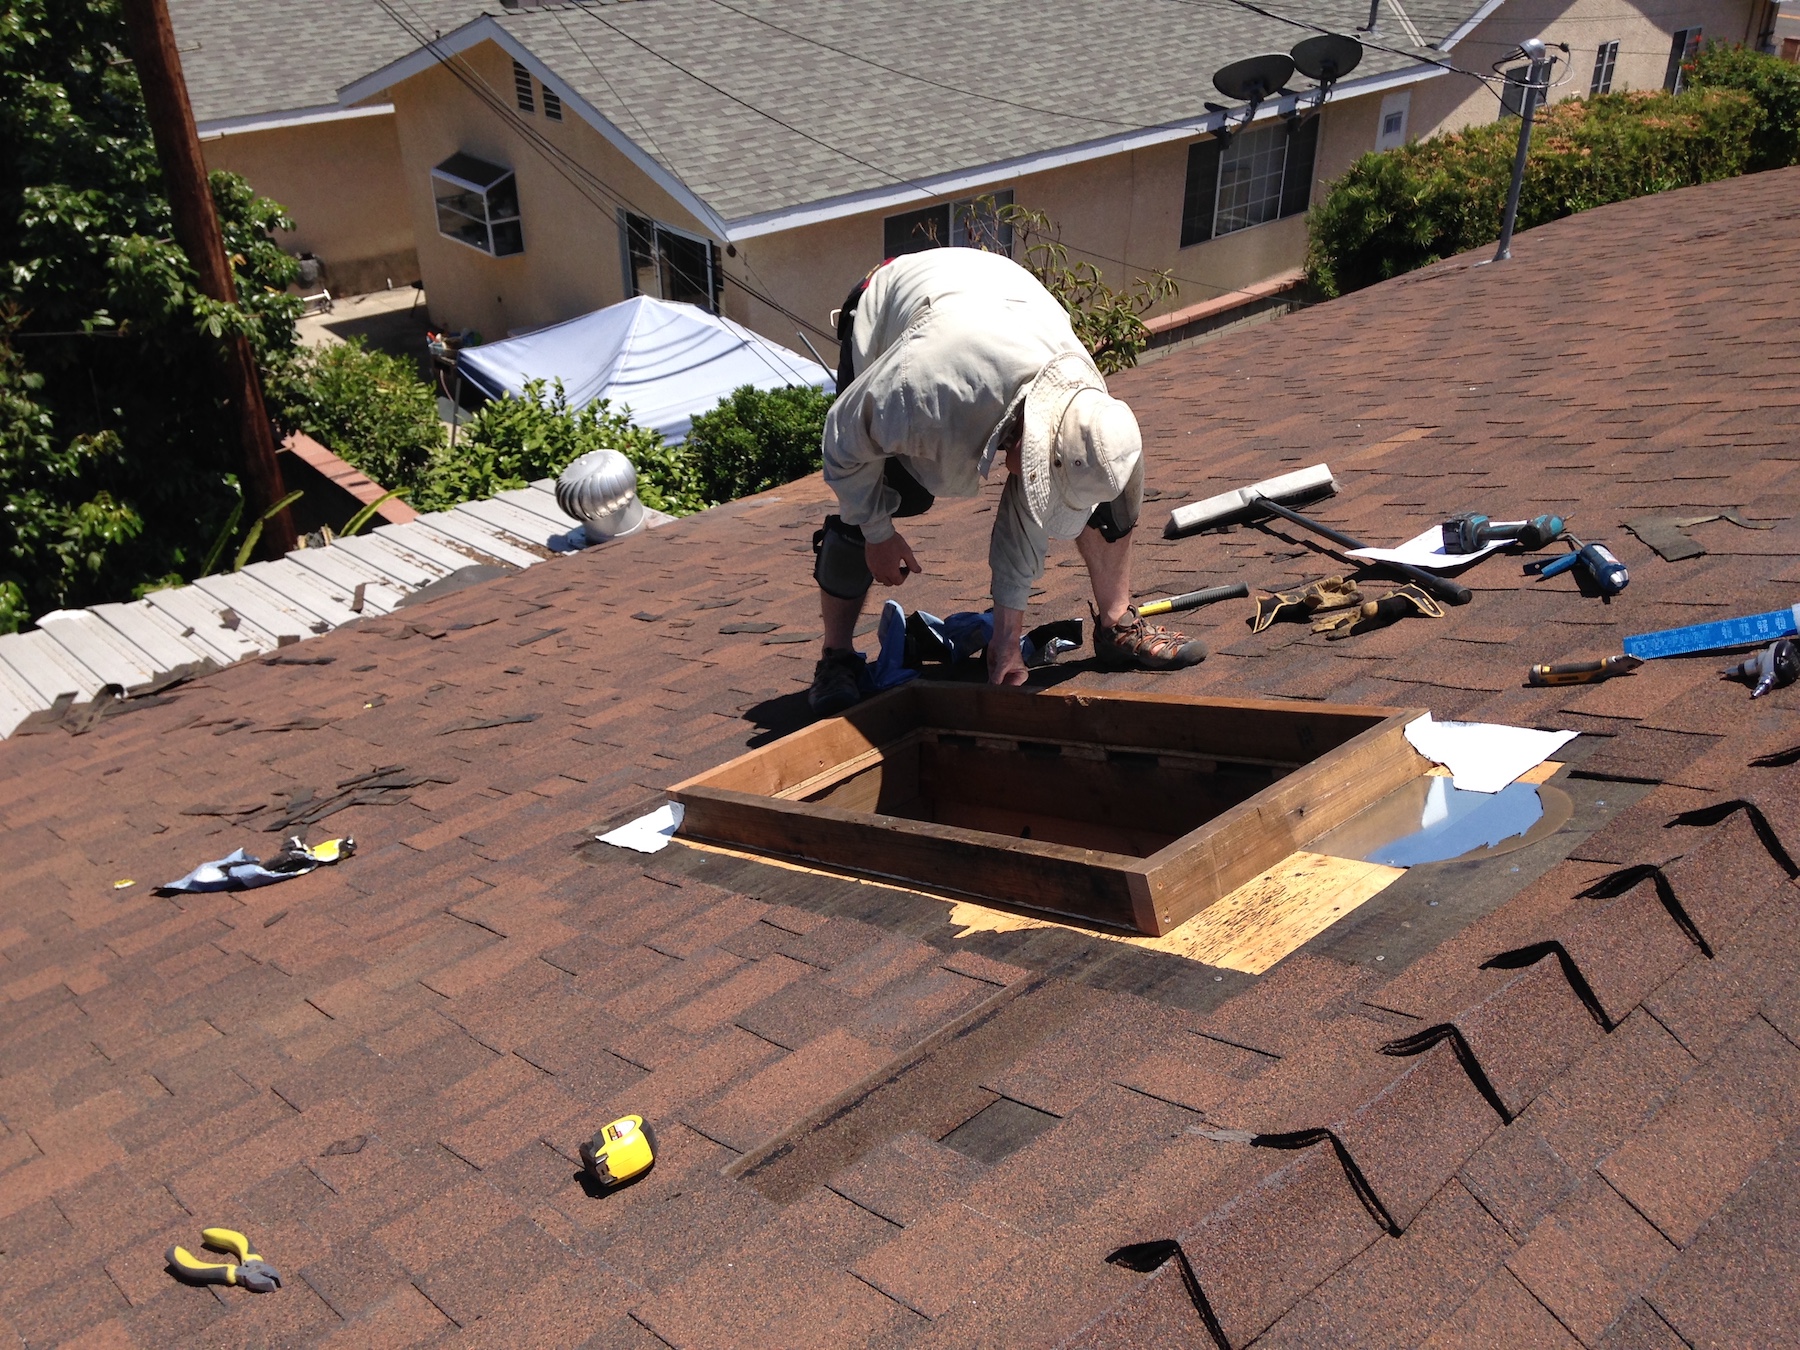
First, he cut a hole in the roof:
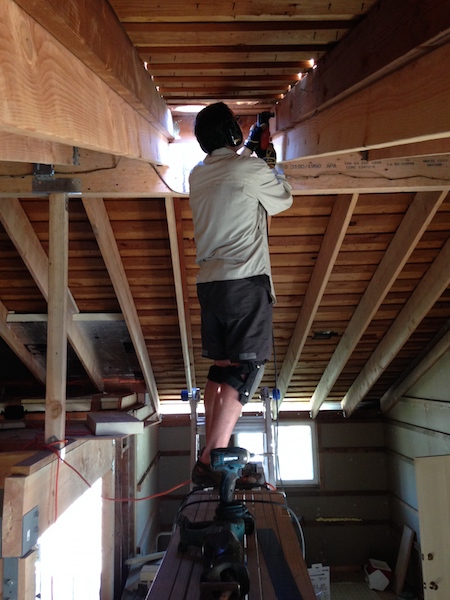
It was loud.
Then he built a curb (the frame thing) and waterproofed the opening with metal step flashing and super sticky industrial tape (there’s a more technical term for it but I don’t know it).
It was hot on the roof.
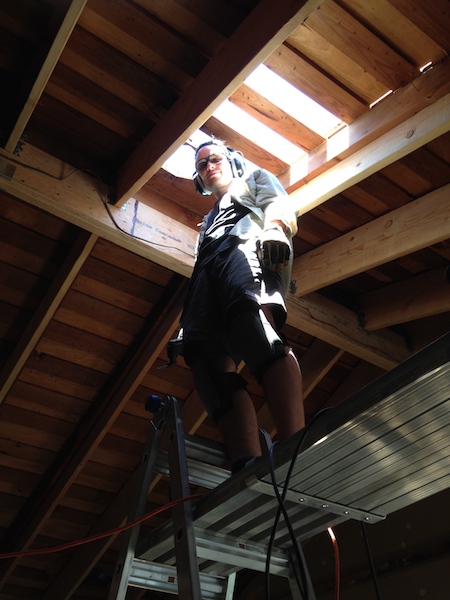
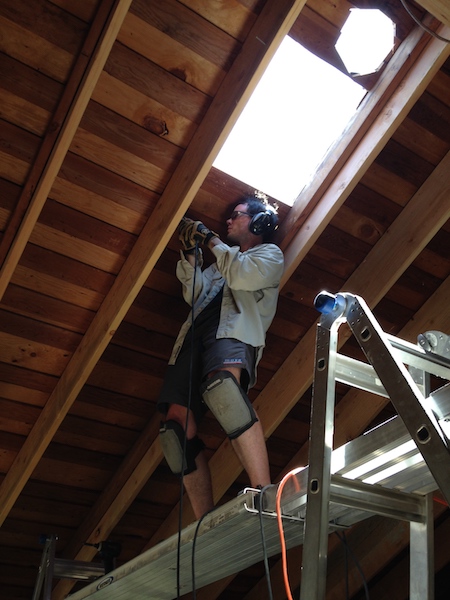
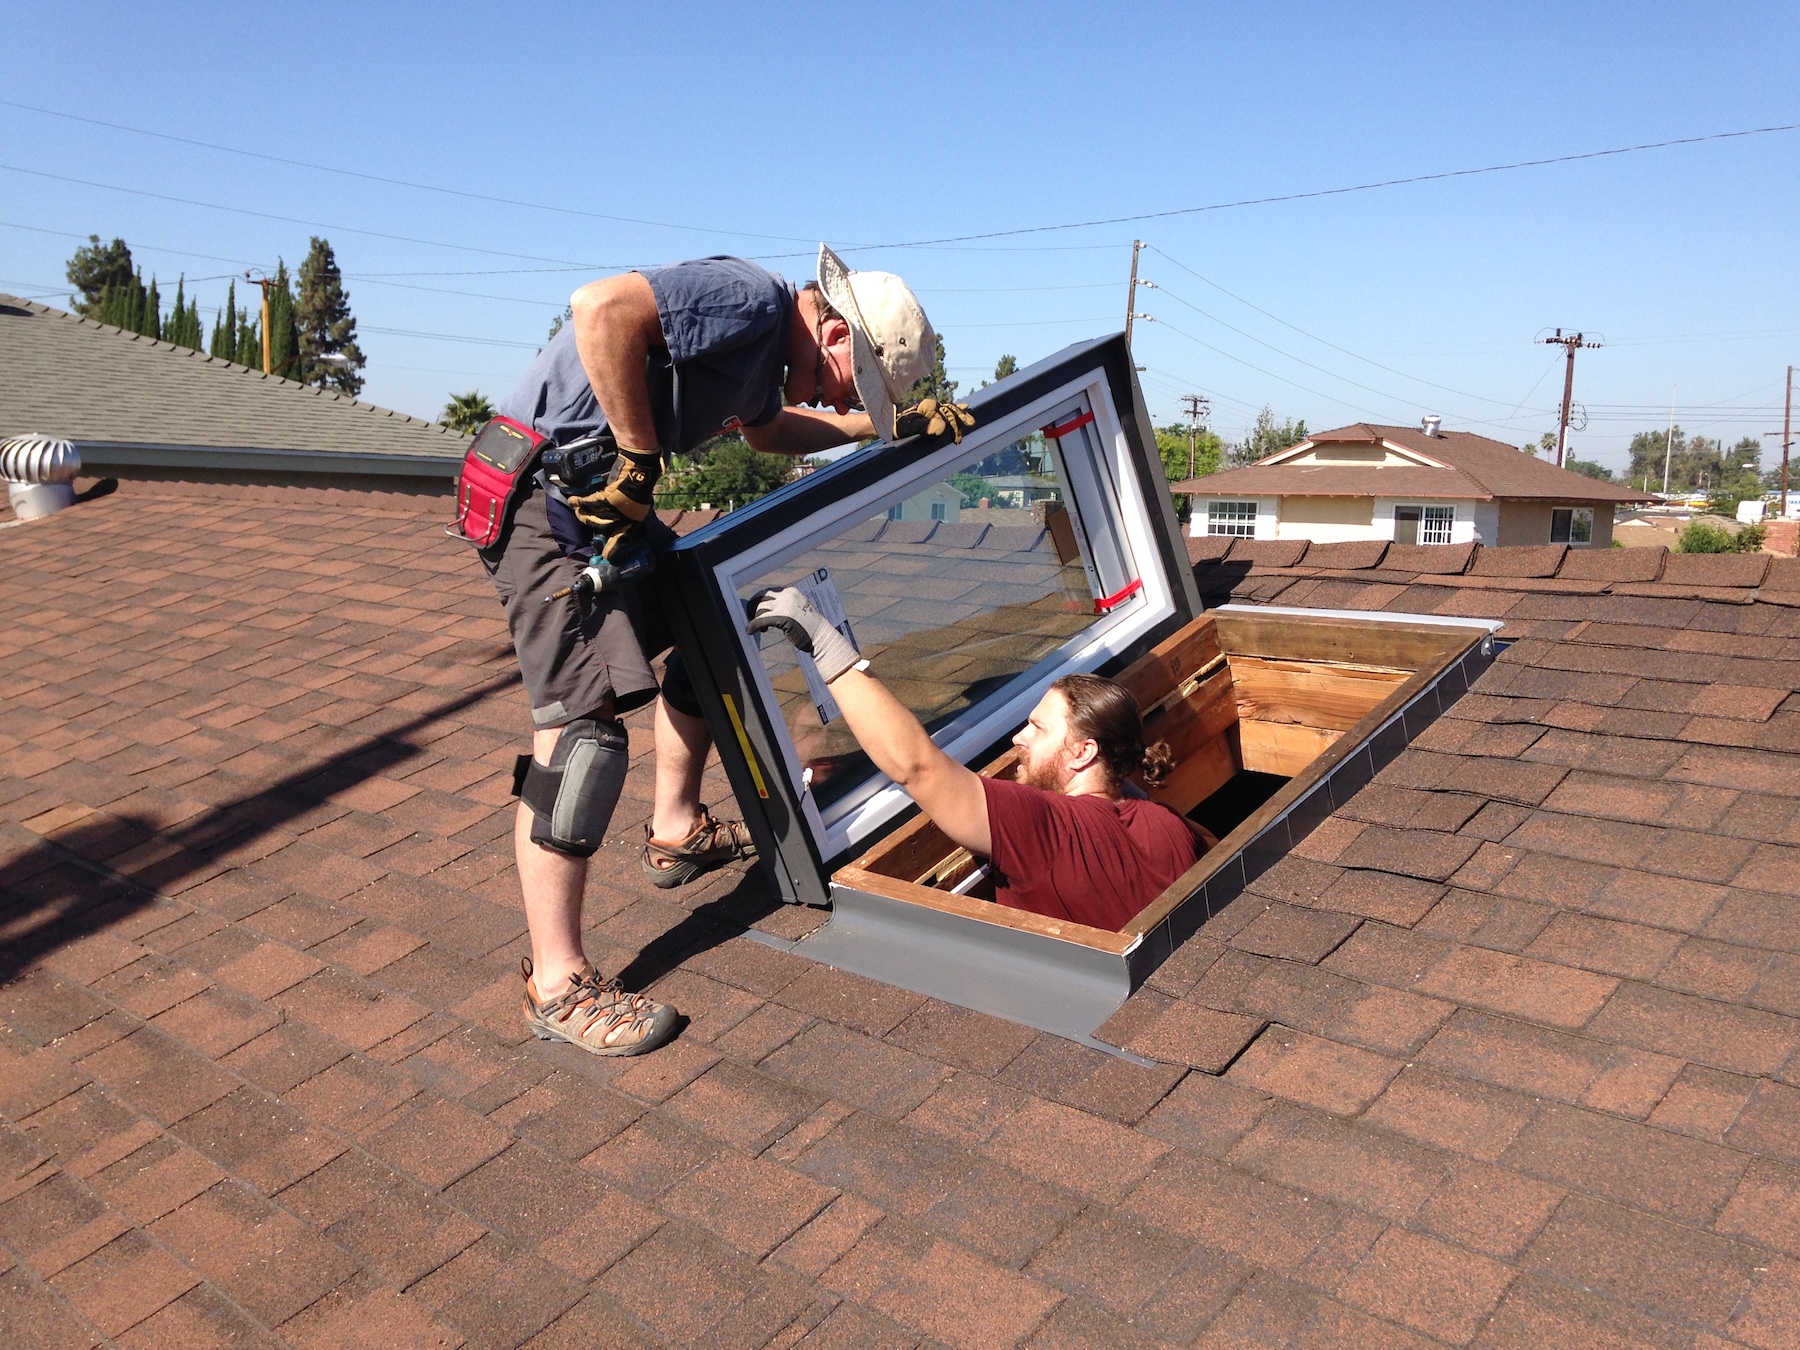
Our friend Merc came over to help Chris install the skylight itself.
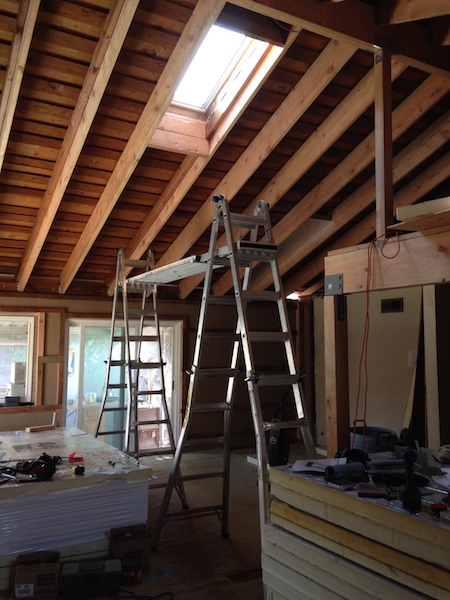
Let there be light! It’s amazing what a big difference the skylight makes in brightening the whole space.
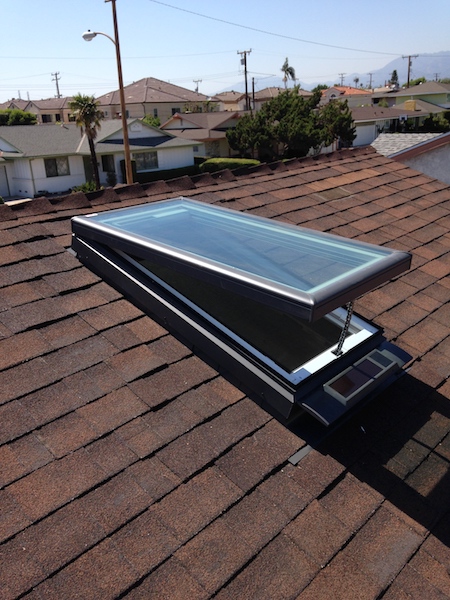
The skylight is made by Velux, and comes with its own tiny solar panel. We can use a remote control to open the skylight, as well as activate a shade. Fun!
The finished skylight:
CRAWL SPACE
This was probably the DIRTIEST stage of the whole renovation project. Where we live (Southern California), crawl spaces (a small cavity beneath the floor, slightly raising the house from the earth) are very common in homes. They are typically nasty, dirty, drafty, and neglected.
Our crawl space was uninsulated and vented to the outside, which meant that 1) cold/hot air could leak into our house through the floors, and 2) it was unprotected from moisture that may seep in from external sources like rain (which might result in mold and unhealthy air leaking into the house through the floor, yuck!). The former was a particularly big concern, because Chris put in a ton of effort installing superinsulation in our walls and roof… but what was the point if the floor was completely uninsulated?
Chris decided to encapsulate the crawl space. This basically entailed wrapping the entire crawl space in plastic film, and then installing insulation along the perimeter.
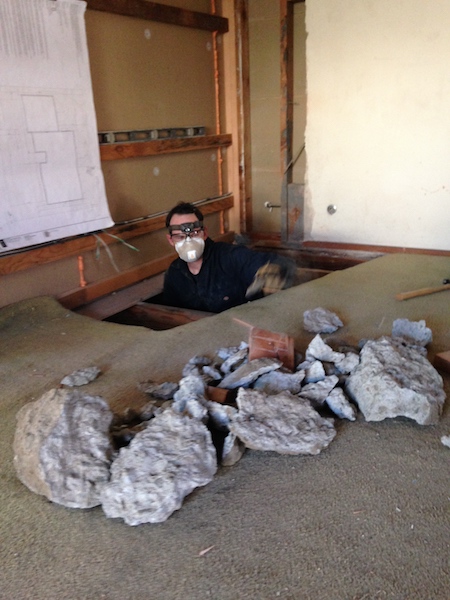
But first, he had to clean out the crawl space. Turns out there was a lot of crap down there! Like huge chunks of old concrete from when we redid the footings to vault the ceiling.
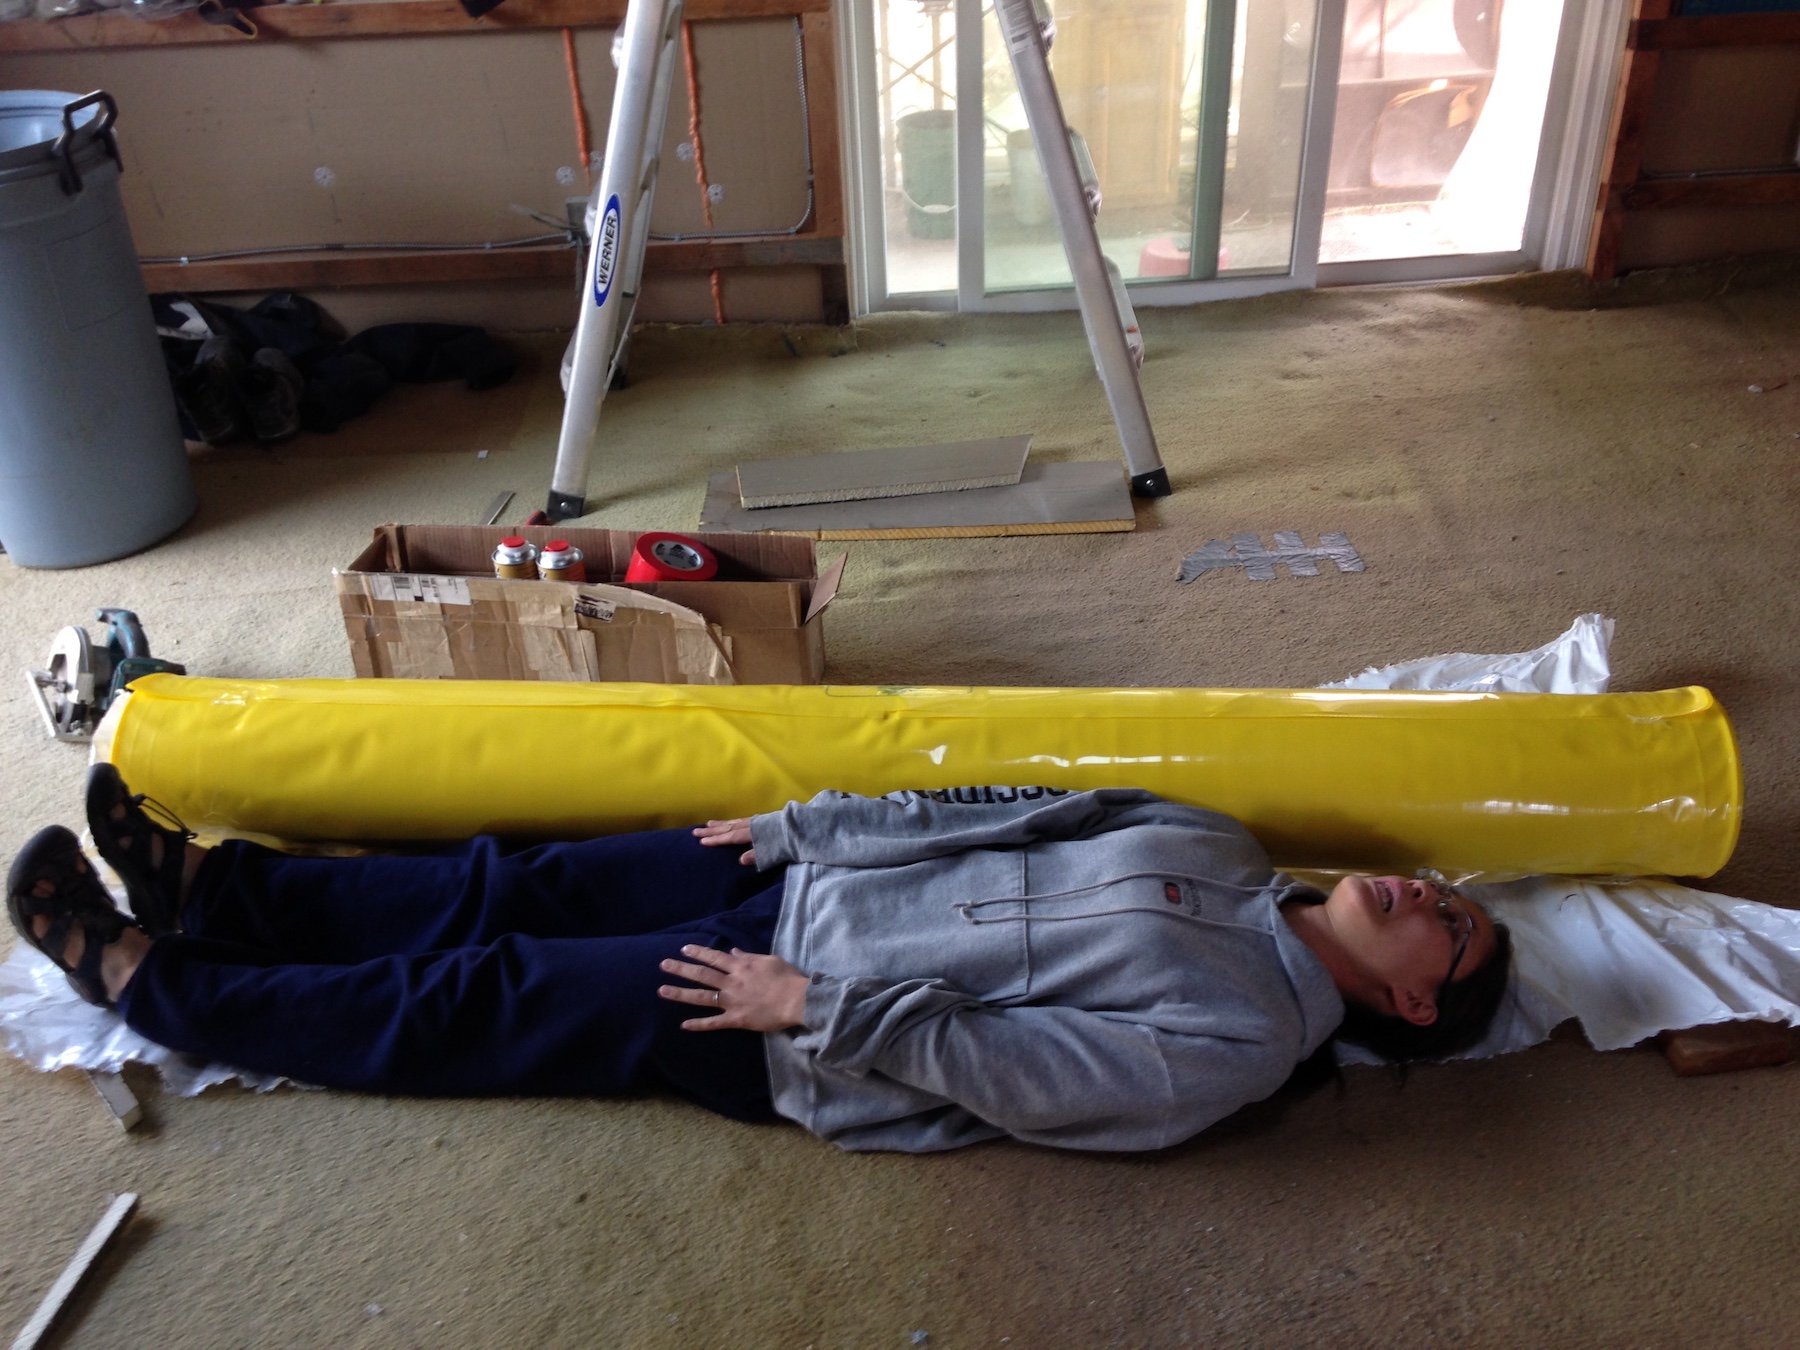
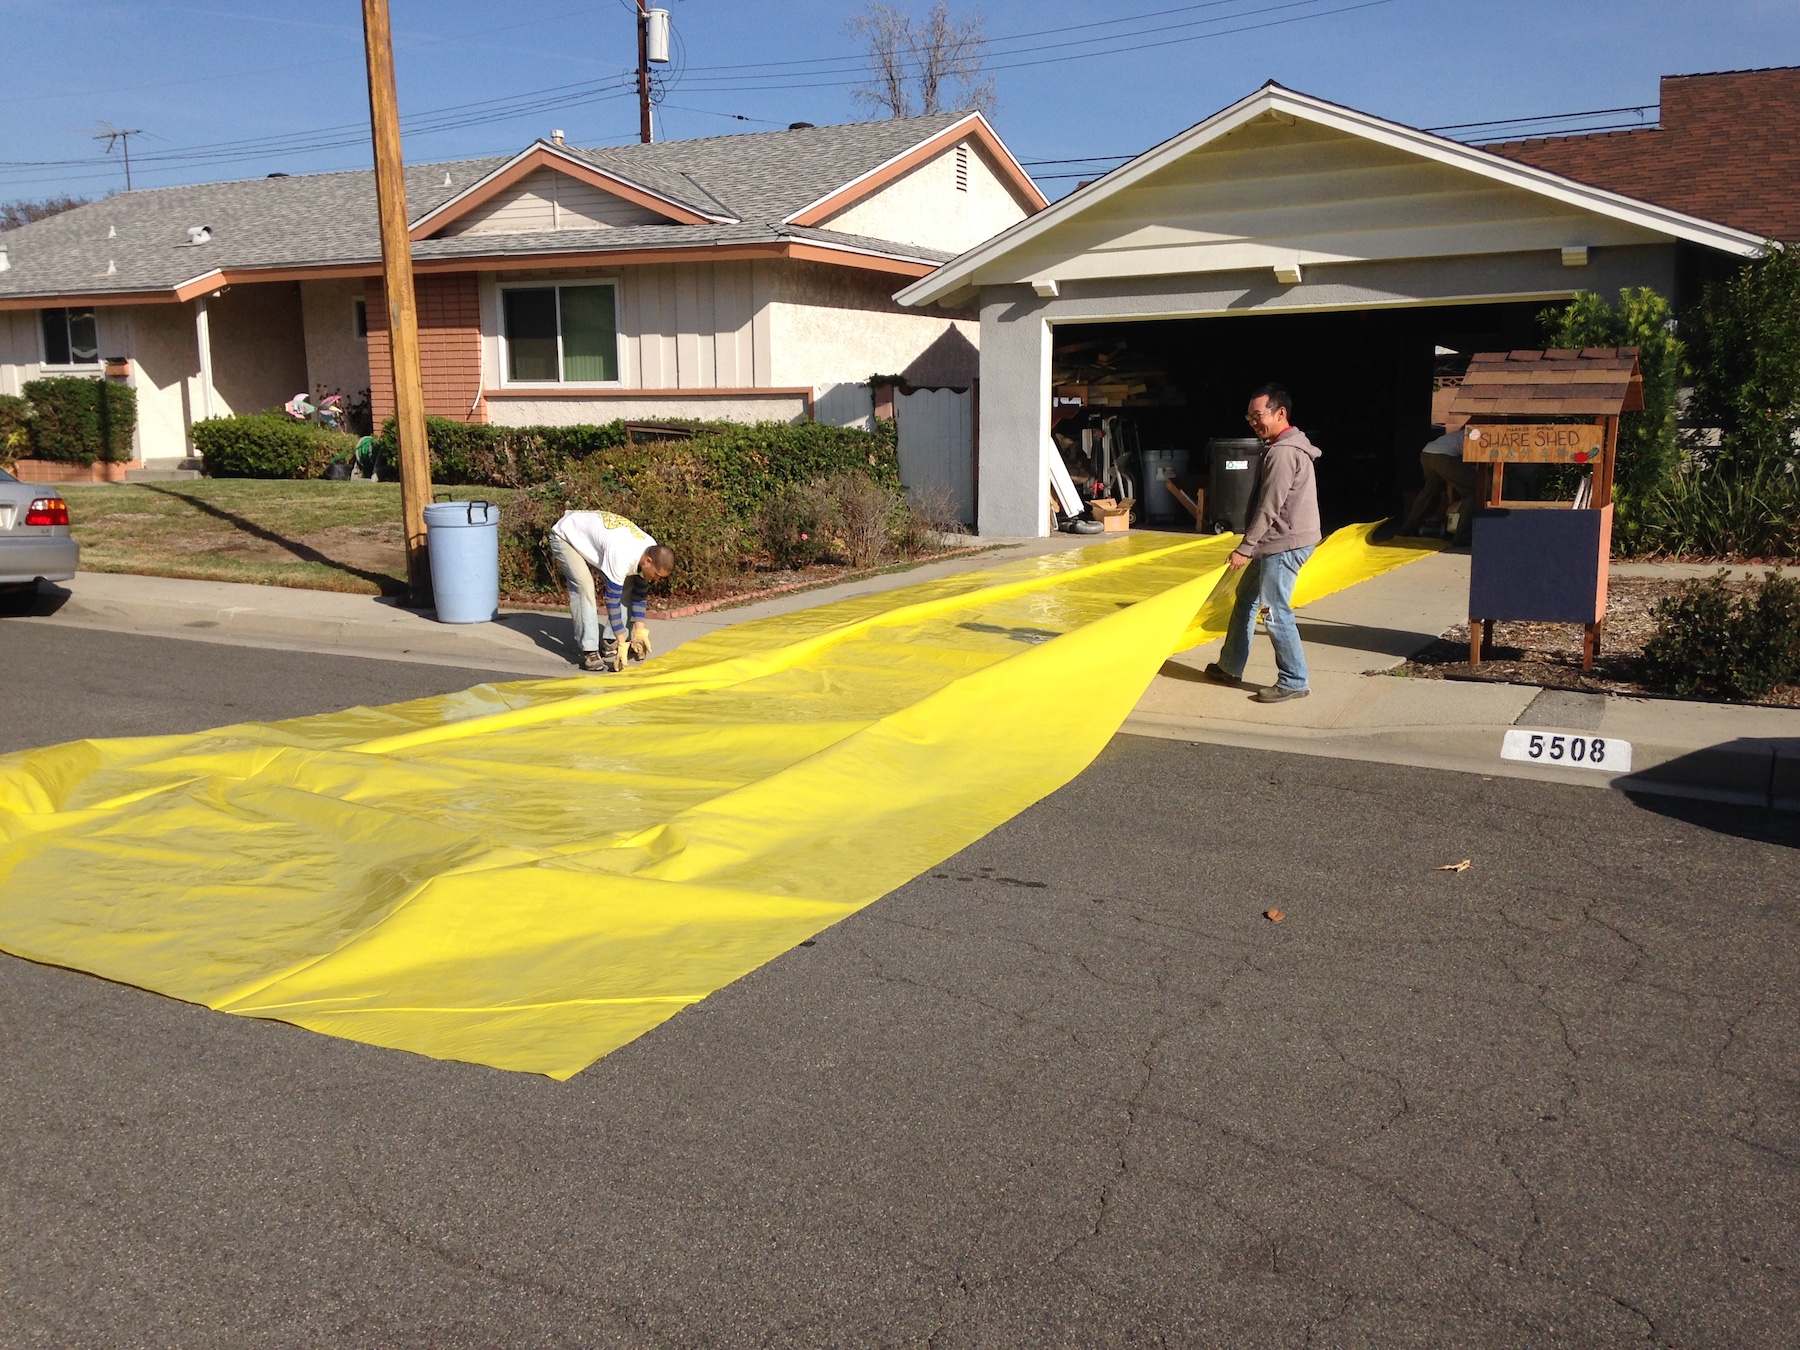
Here is the plastic film (15 mil Stego Wrap vapor barrier). The roll is taller than me! Note the box with red tape (Stego Tape) and cans of spray foam. Lots of sticky tape was involved in this process.
First Chris wrapped up all the footings under the house. (Like the worst Christmas present ever.)
The Stego Wrap is BIG. My brother Bin and our friend Johnny helped lay it out on our driveway and cut long strips out of it that they could pull through the crawl space.
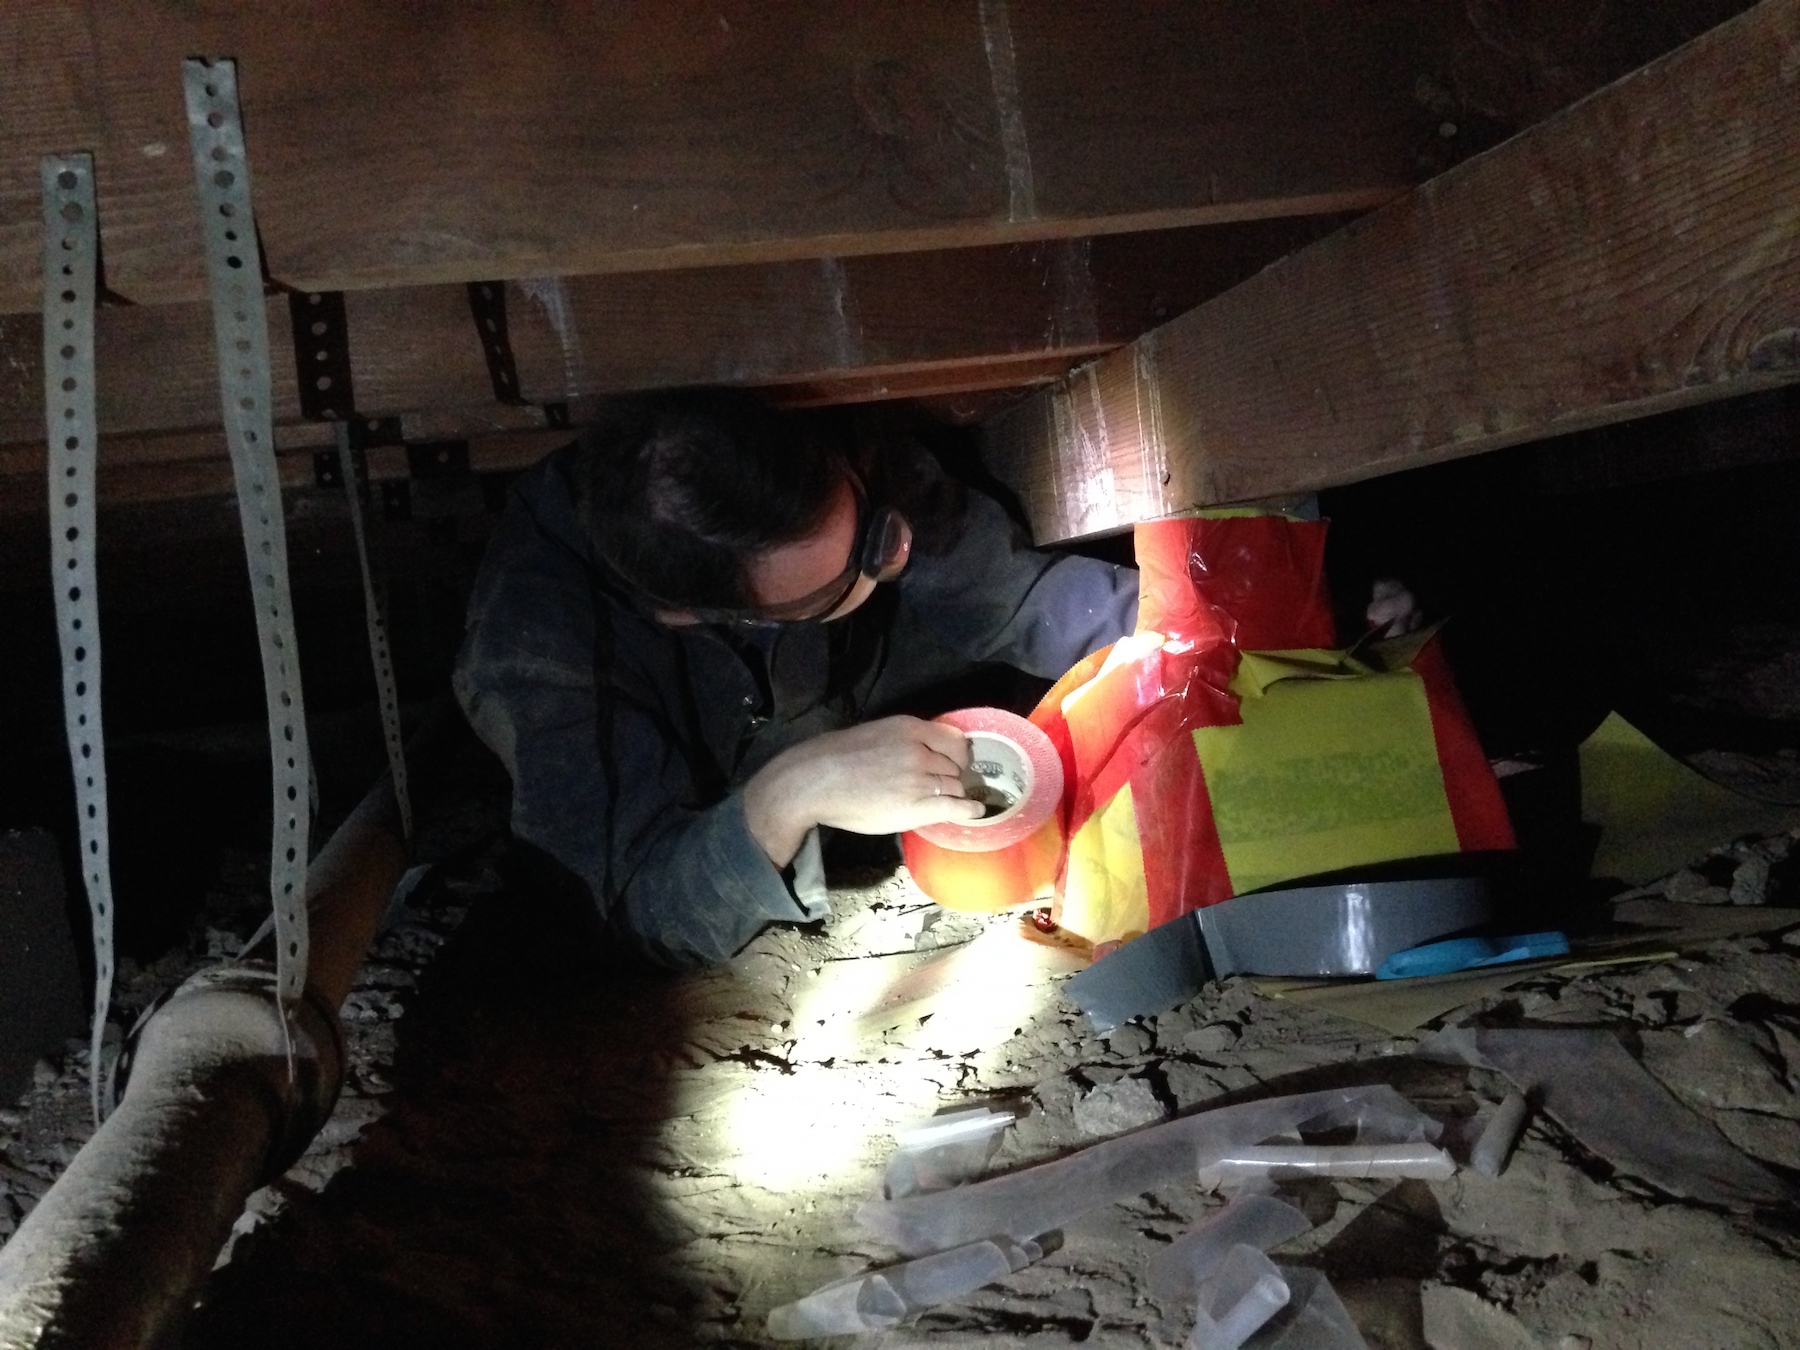
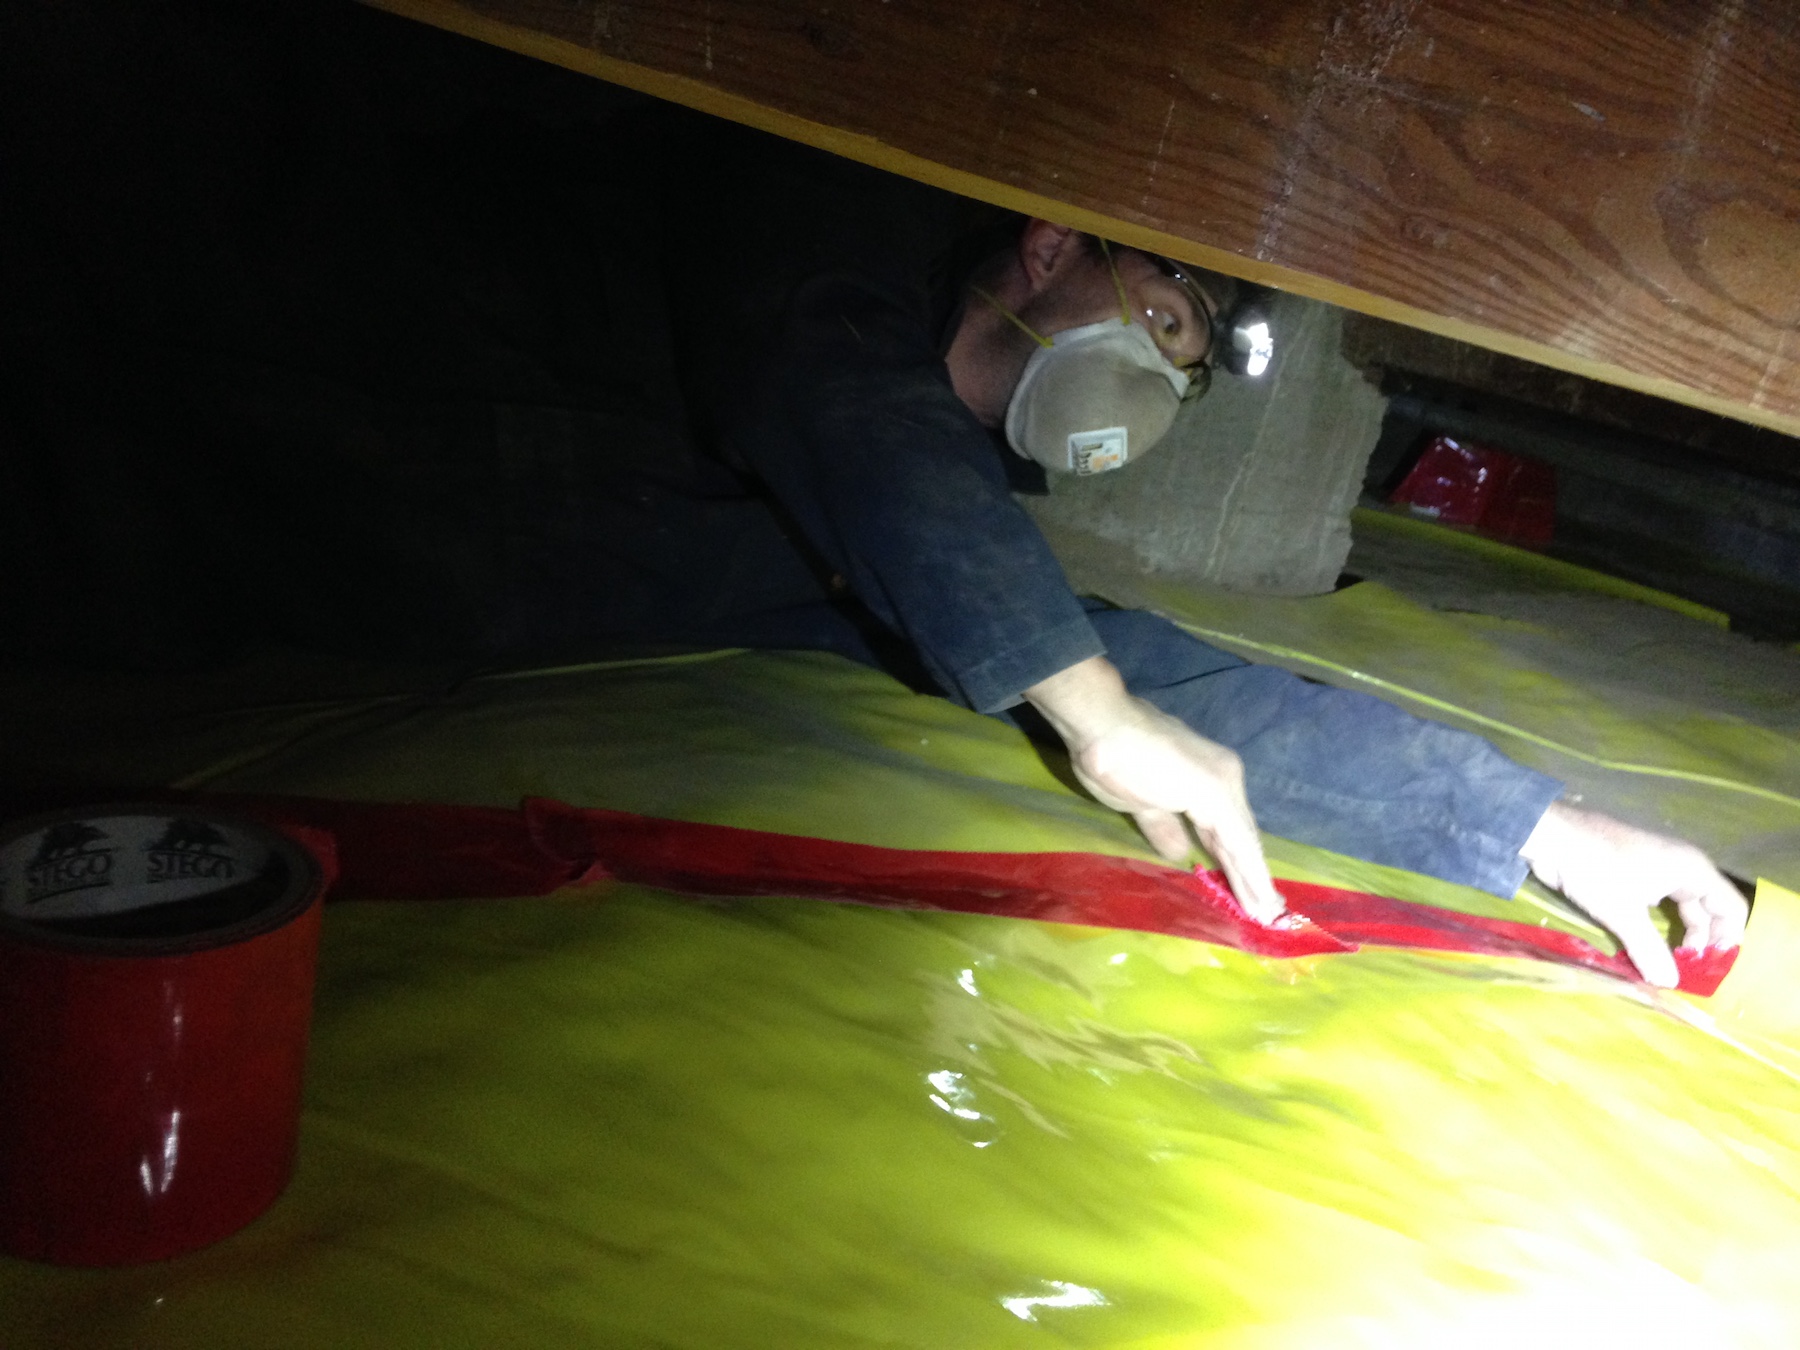
Here’s Chris taping together a seam to ensure that it’s completely waterproof. Doesn’t he look like he’s having fun?? I mean the crawl space has 8-13 inches of clearance and is full of ancient dirt and decomposing spiders, so you know he’s got to be extremely comfortable, dragging his stomach along the ground in dusty darkness for hours. (On the plus side, he says it’s an excellent ab workout.)
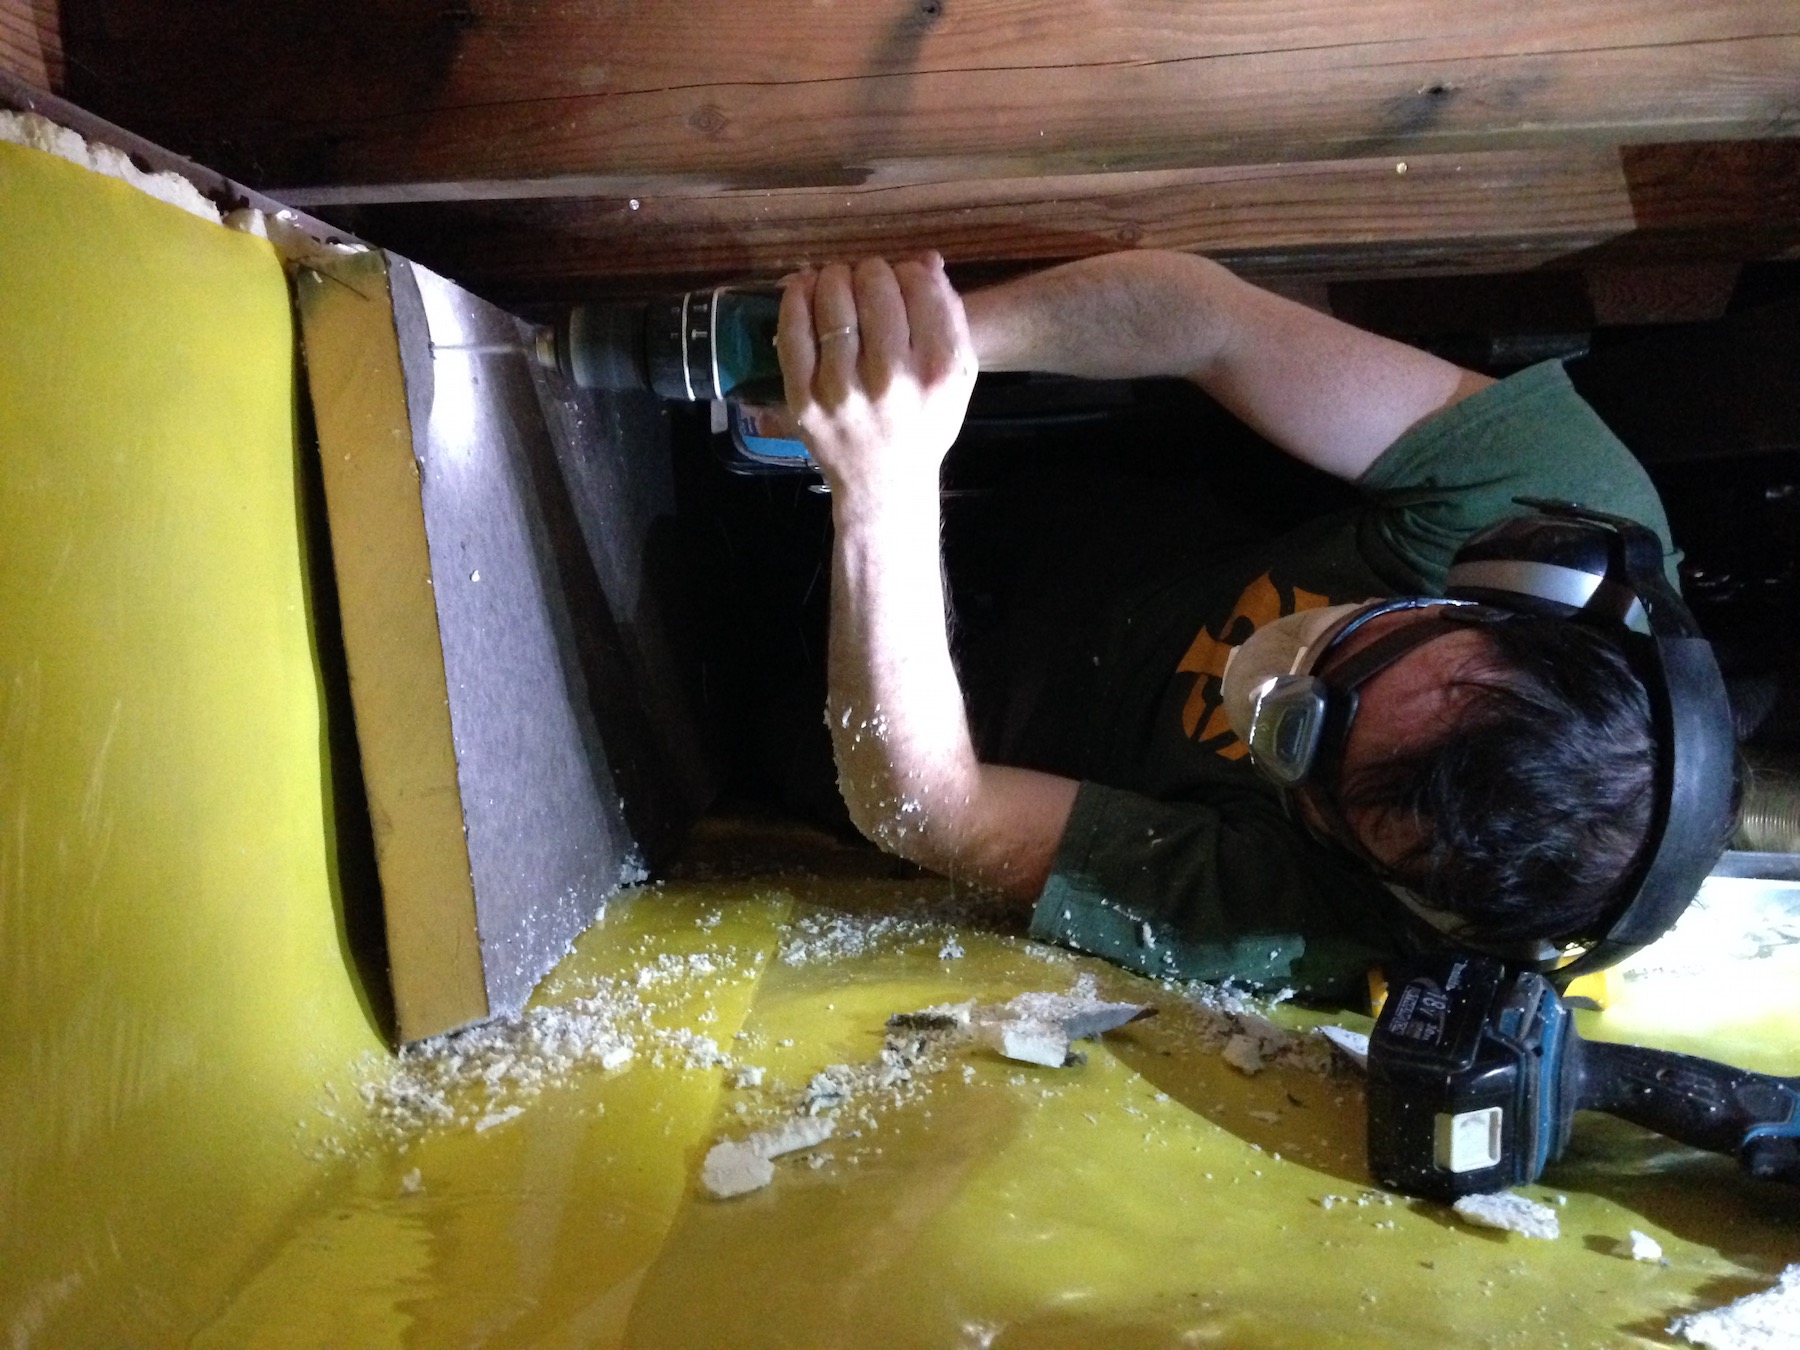
Installing rigid foam insulation is tedious enough aboveground, but try doing it in a cramped, nasty crawl space!
Chris installed 2 inches of rigid foam on the stem wall, and 3 inches of rigid foam on the rim joist. He then air-sealed using spray foam. This effectively brought the entire crawl space into the conditioned space of our house (insulating it from outside temperatures).
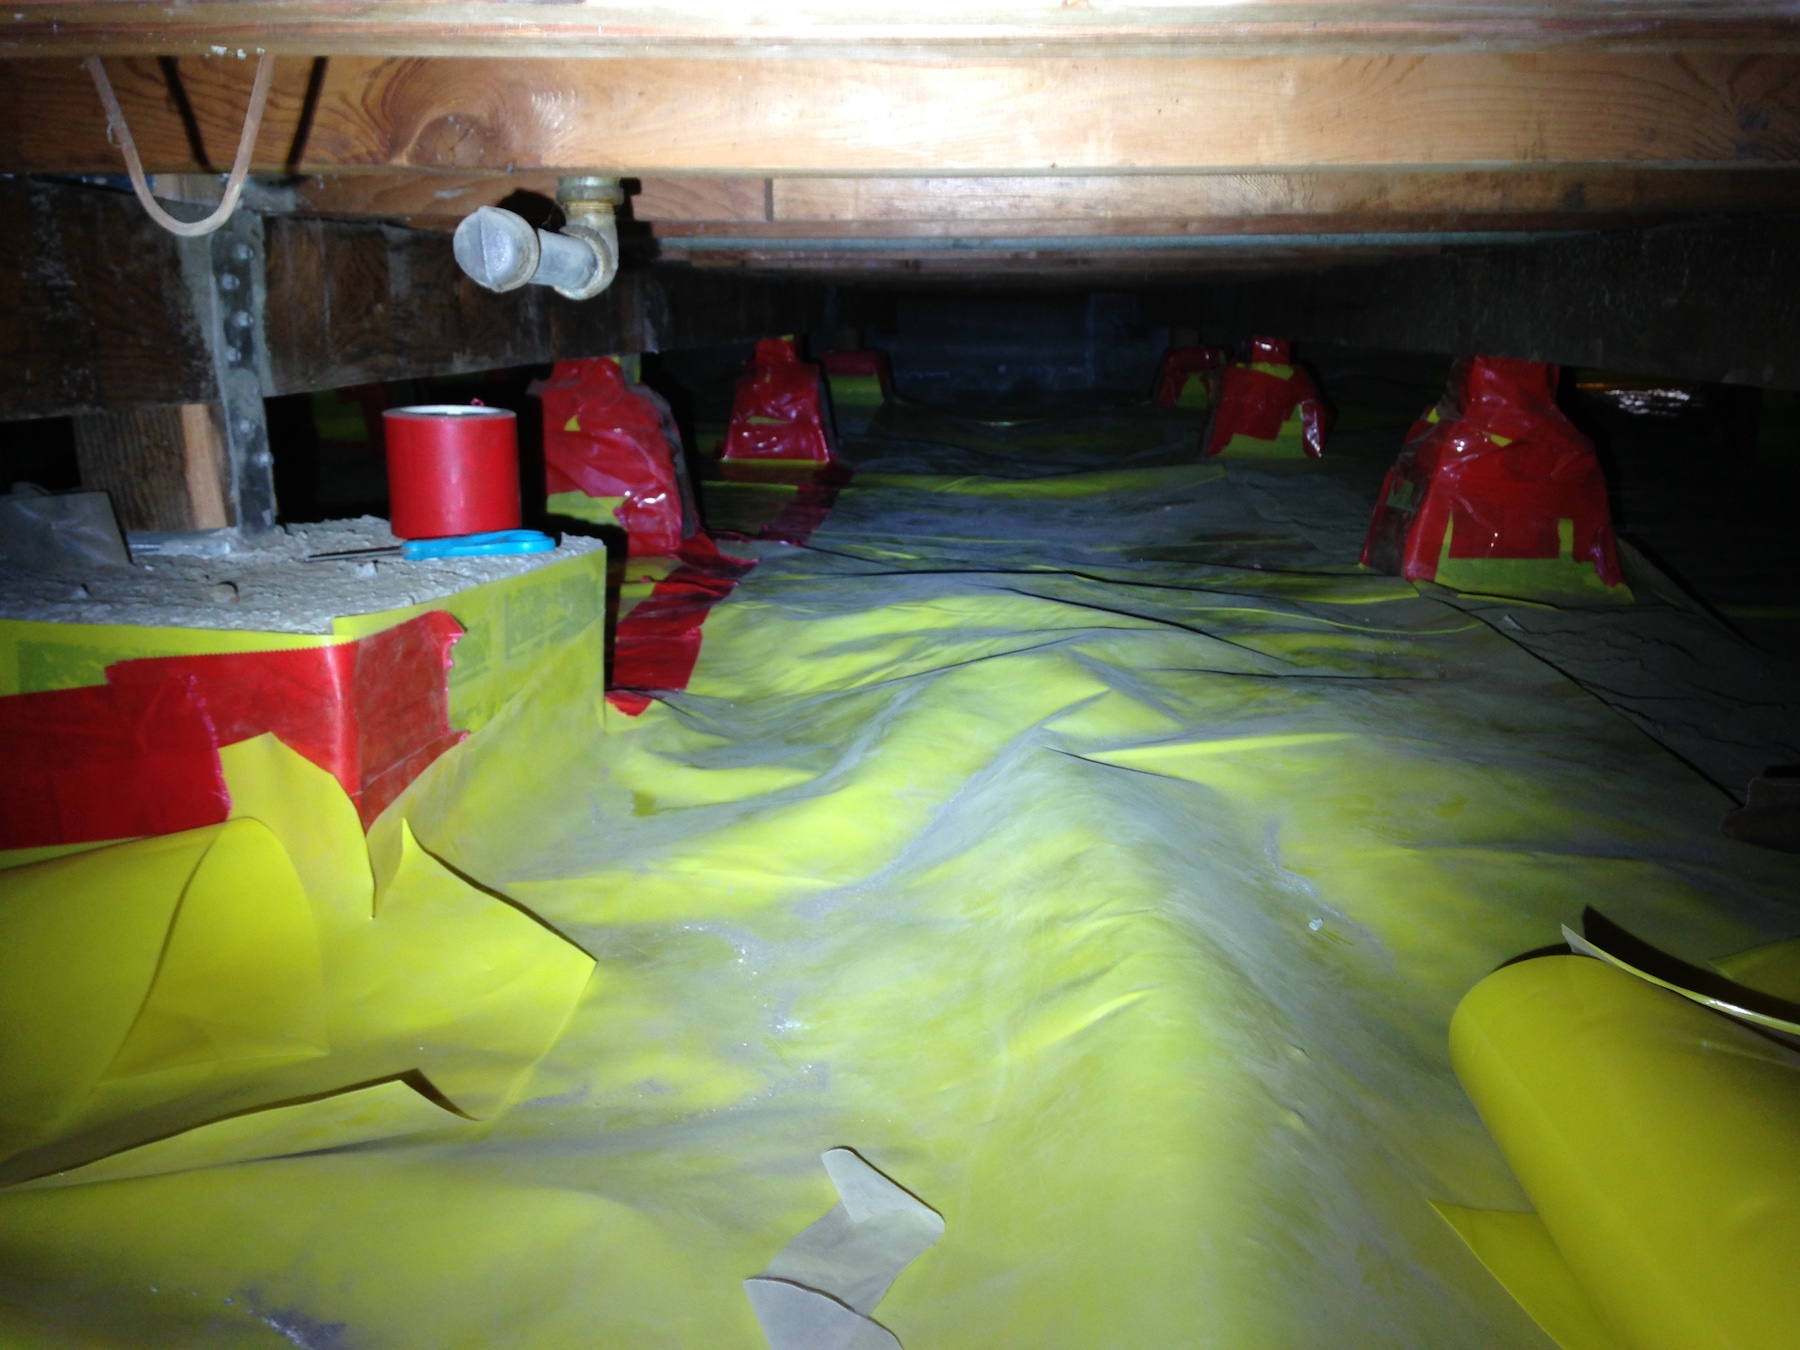
Below is a photo of the nearly-complete encapsulated crawl space. Now the crawlspace is no longer vented, and protected from outside temperatures (which means our house is fully insulated in all directions) and also protected from external moisture issues (which means minimizing mold and rot).
Note: We live in a very dry climate, so this is fine as is. In a more humid climate, though, it may be necessary to install a dehumidifier or exhaust fan in the crawl space to make sure that moisture does not build up.
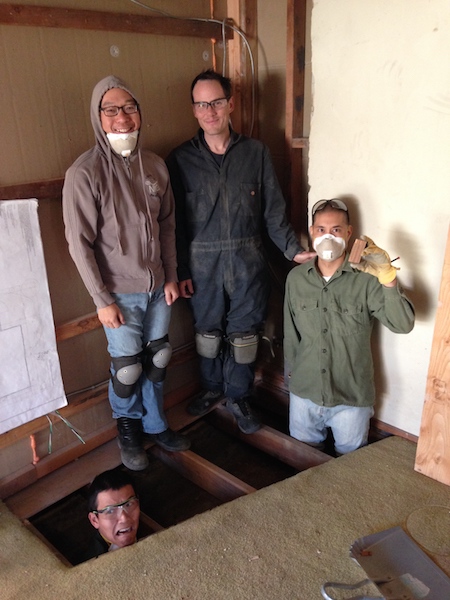
What a nasty, difficult process! (not recommended for claustrophobic people.) Luckily, Chris had lots of help from Bin, Johnny, and Lac, who all courageously entered the abyss of the crawl space with him. Thanks guys!
HEATING/COOLING
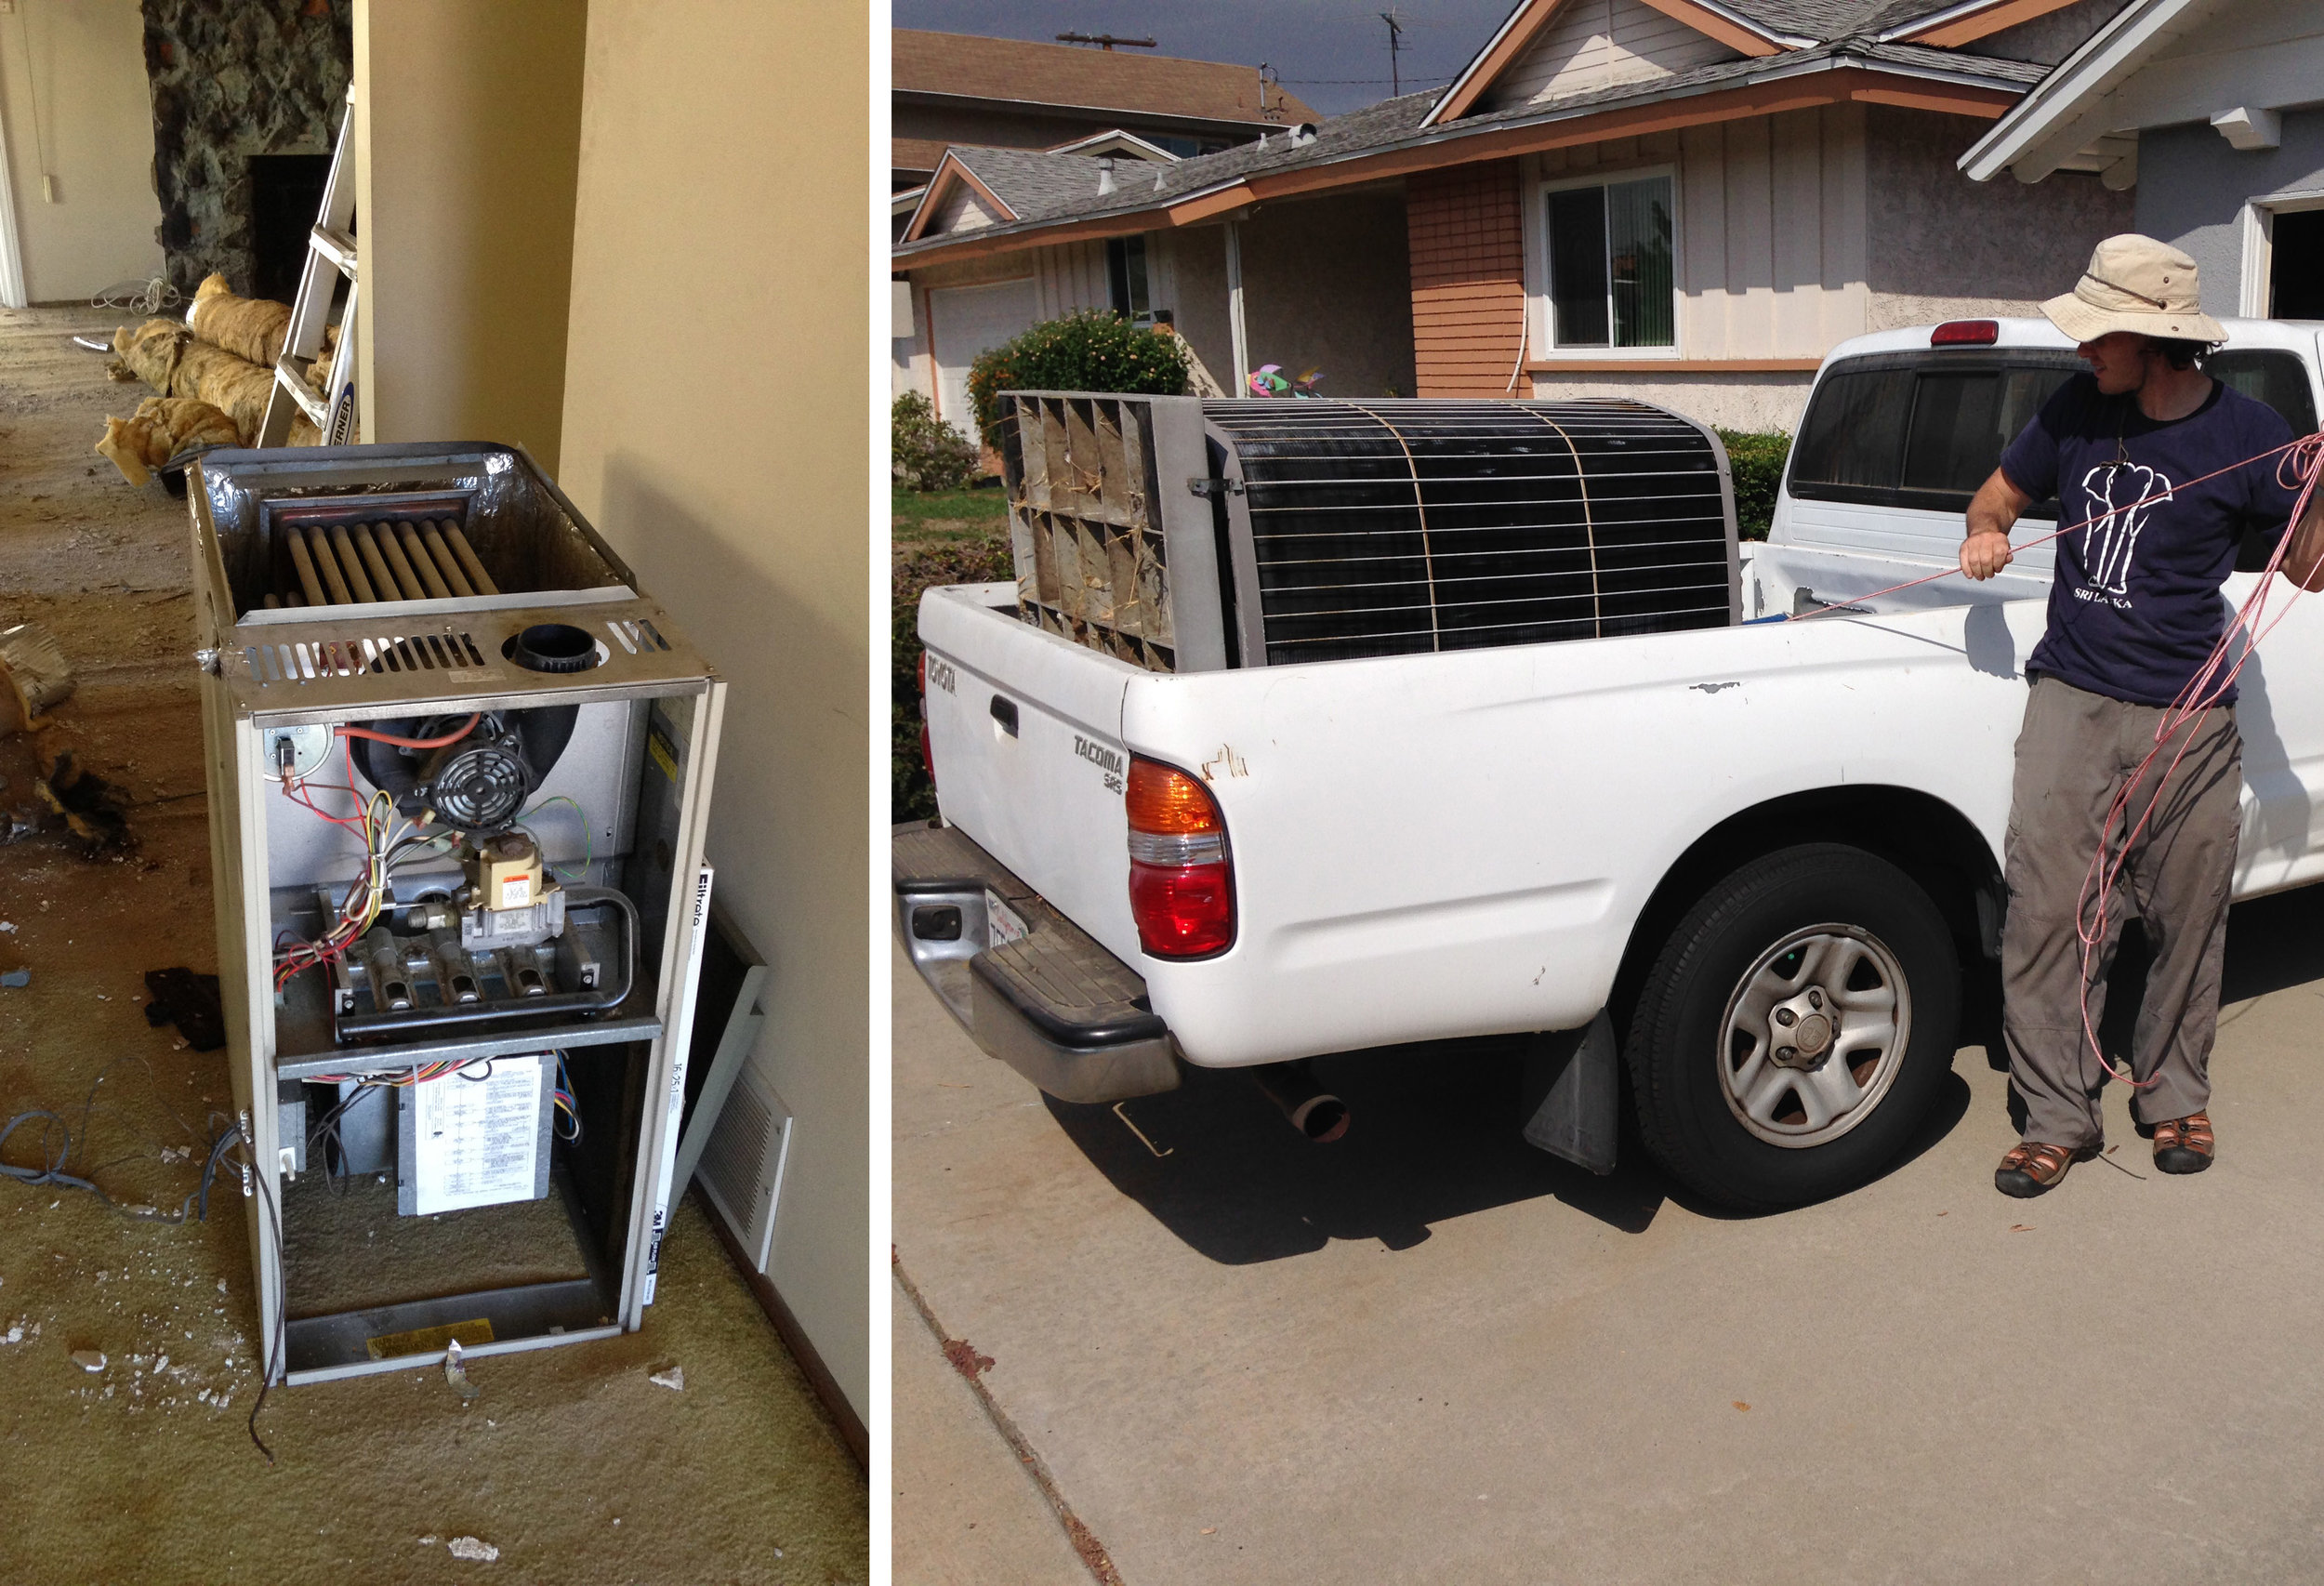
Here’s how we used to heat and cool our house: an old gas furnace (left) and a loud, inefficient central air conditioner (right). Chris tore these things out and replaced them with a single system: a mini split heat pump. Mini splits do both heating and cooling, and they are much more energy efficient!
Specifically, we installed a two-zone mini split heat pump (Mitsubishi brand). This consists of an outdoor unit (which you can see below) and two indoor units (zones): one ductless wall unit for the common area, and one ducted ceiling unit for the bedrooms. Each indoor unit has its own thermostat that can be controlled separately.
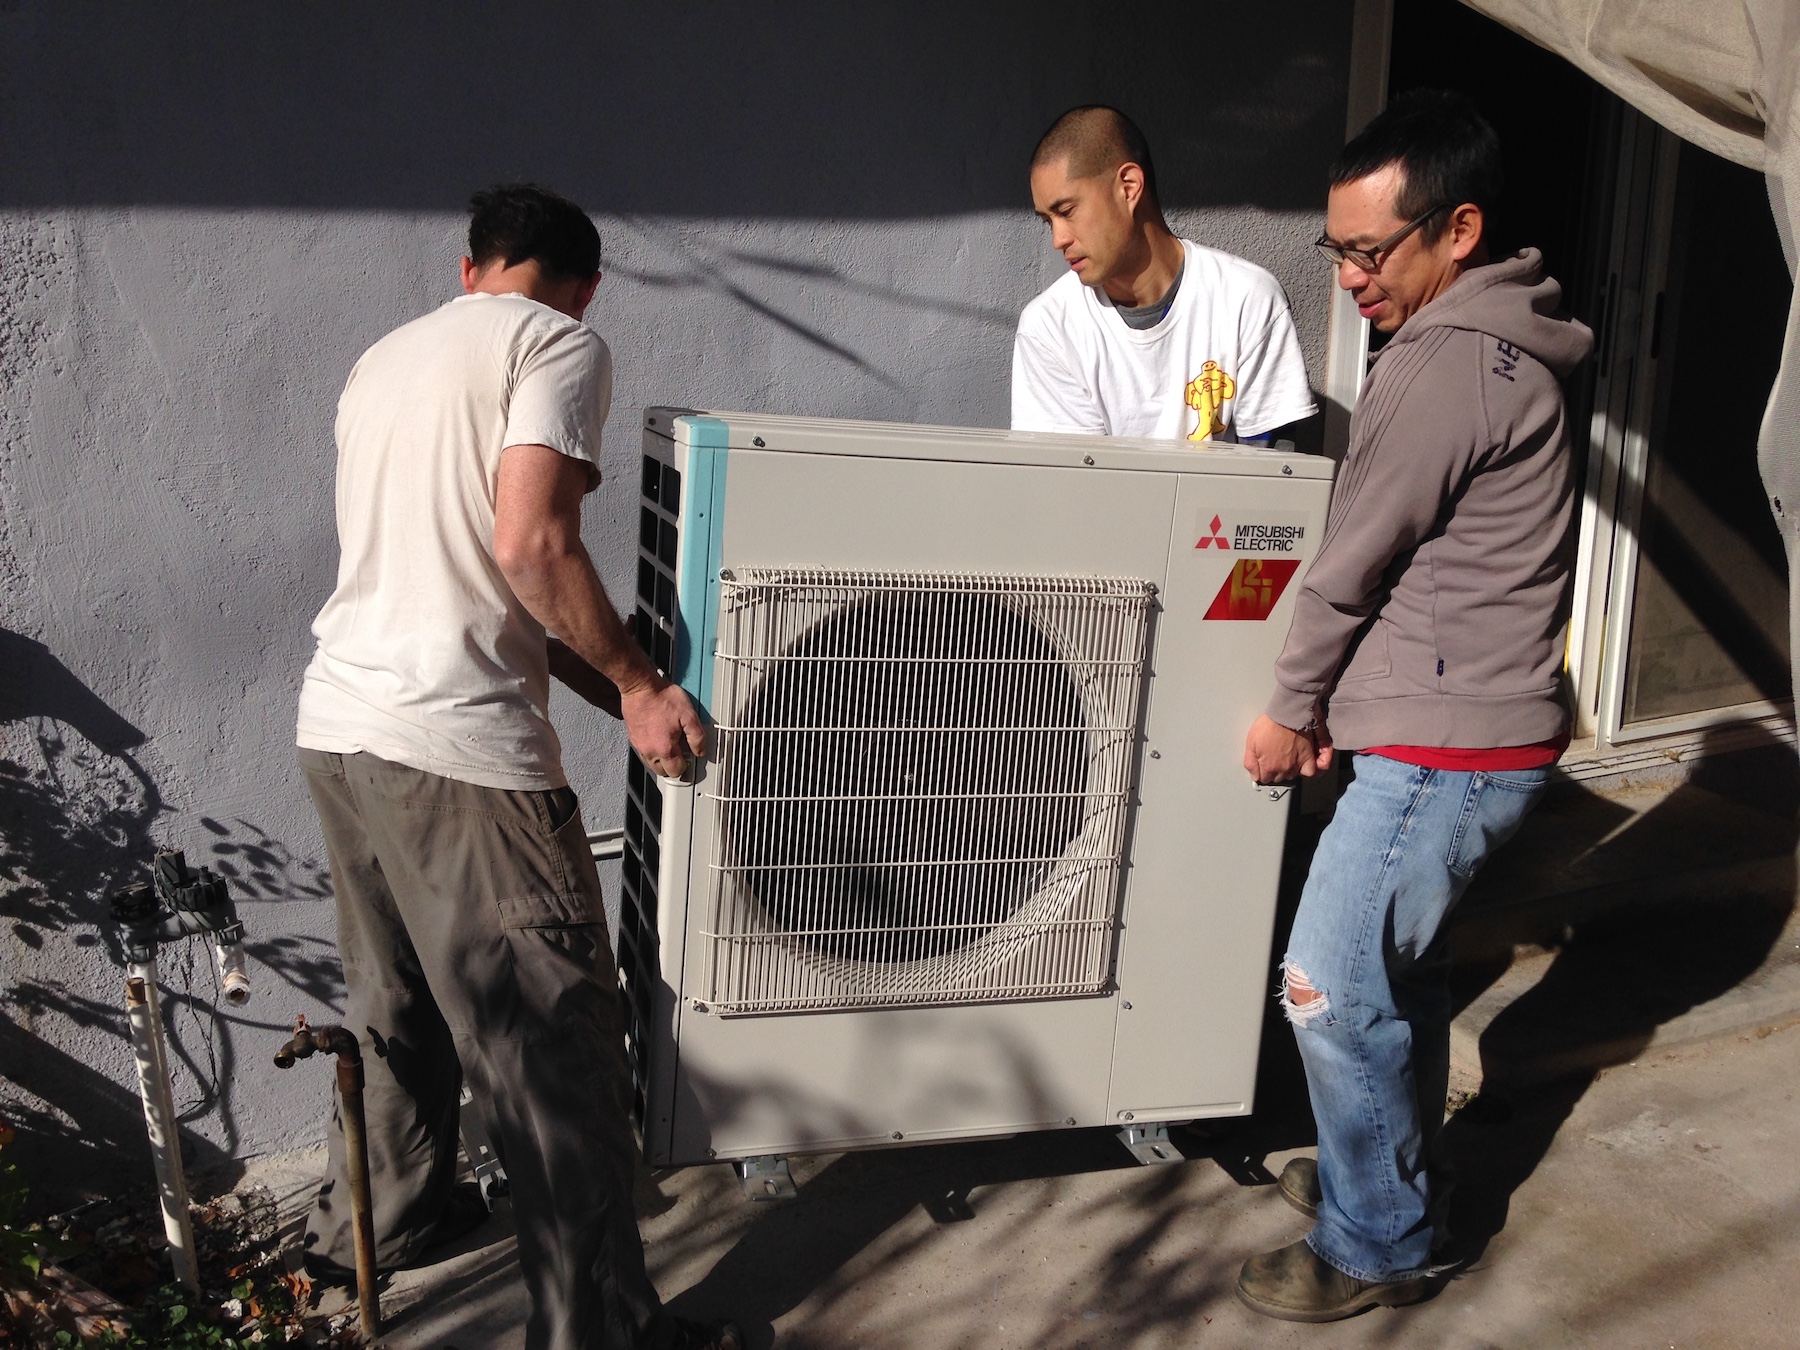
In this photo, Chris, Bin, and Johnny haul out the brand new outdoor unit:
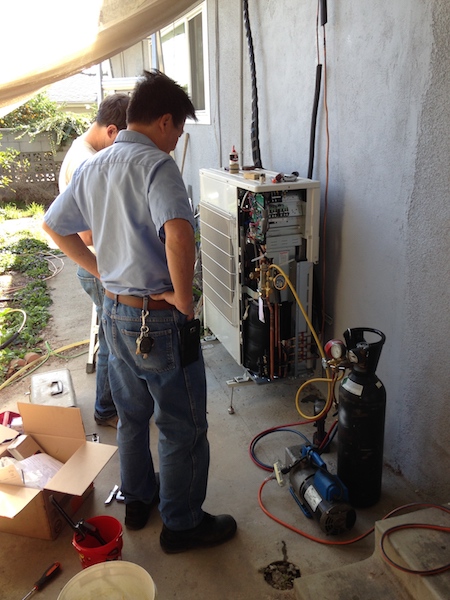
Our neighbor Albert is a HVAC specialist and helped Chris install and test out the new system (e.g. making sure there were no refrigerant leaks). Thank you, Albert!
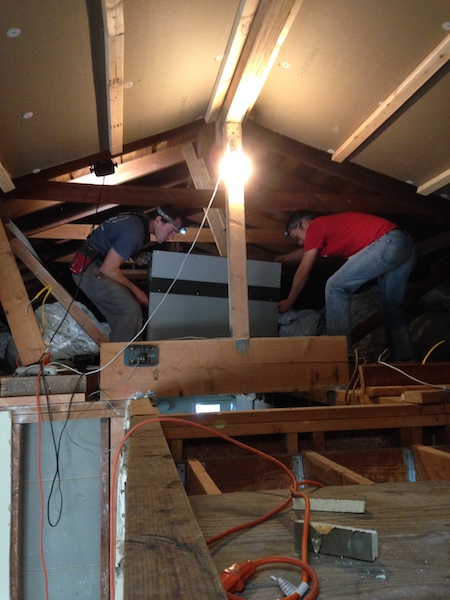
Chris and Johnny installed the ceiling unit over the hallway between the bedrooms:
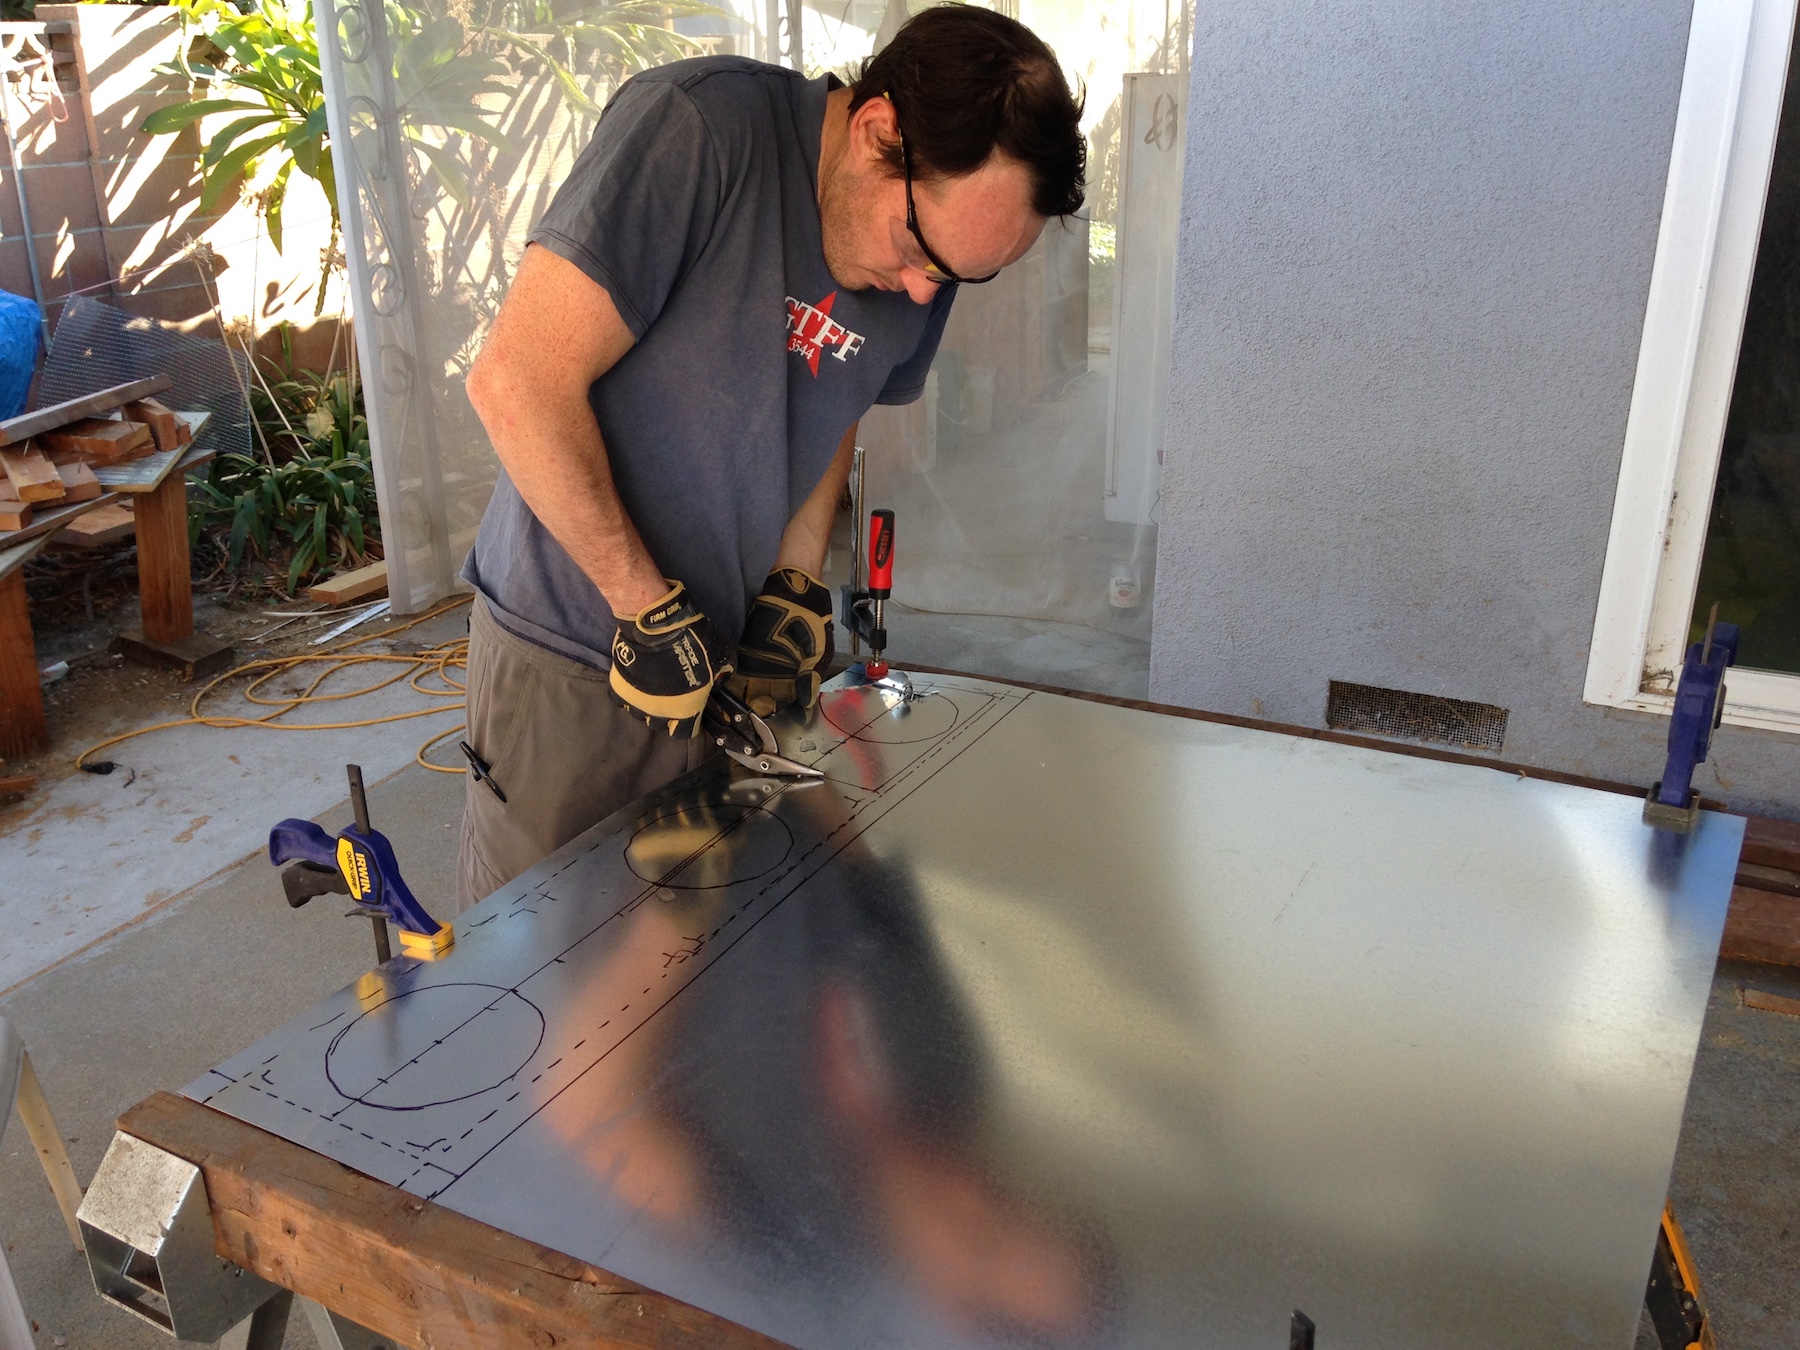
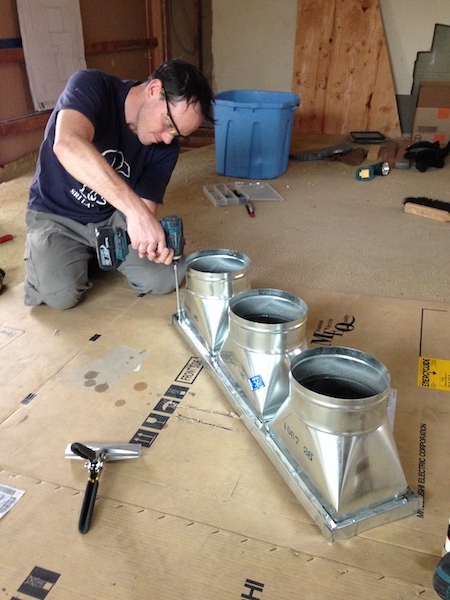
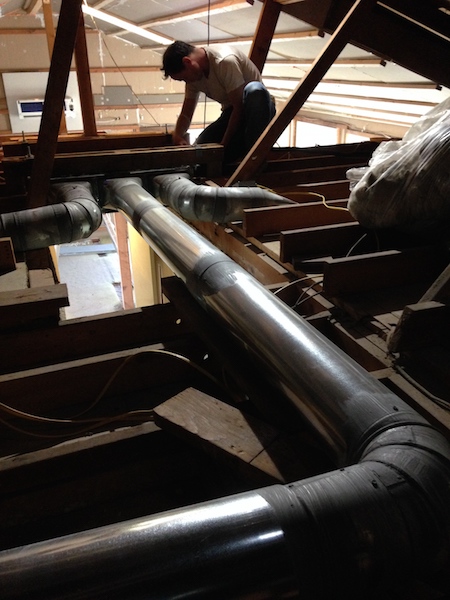
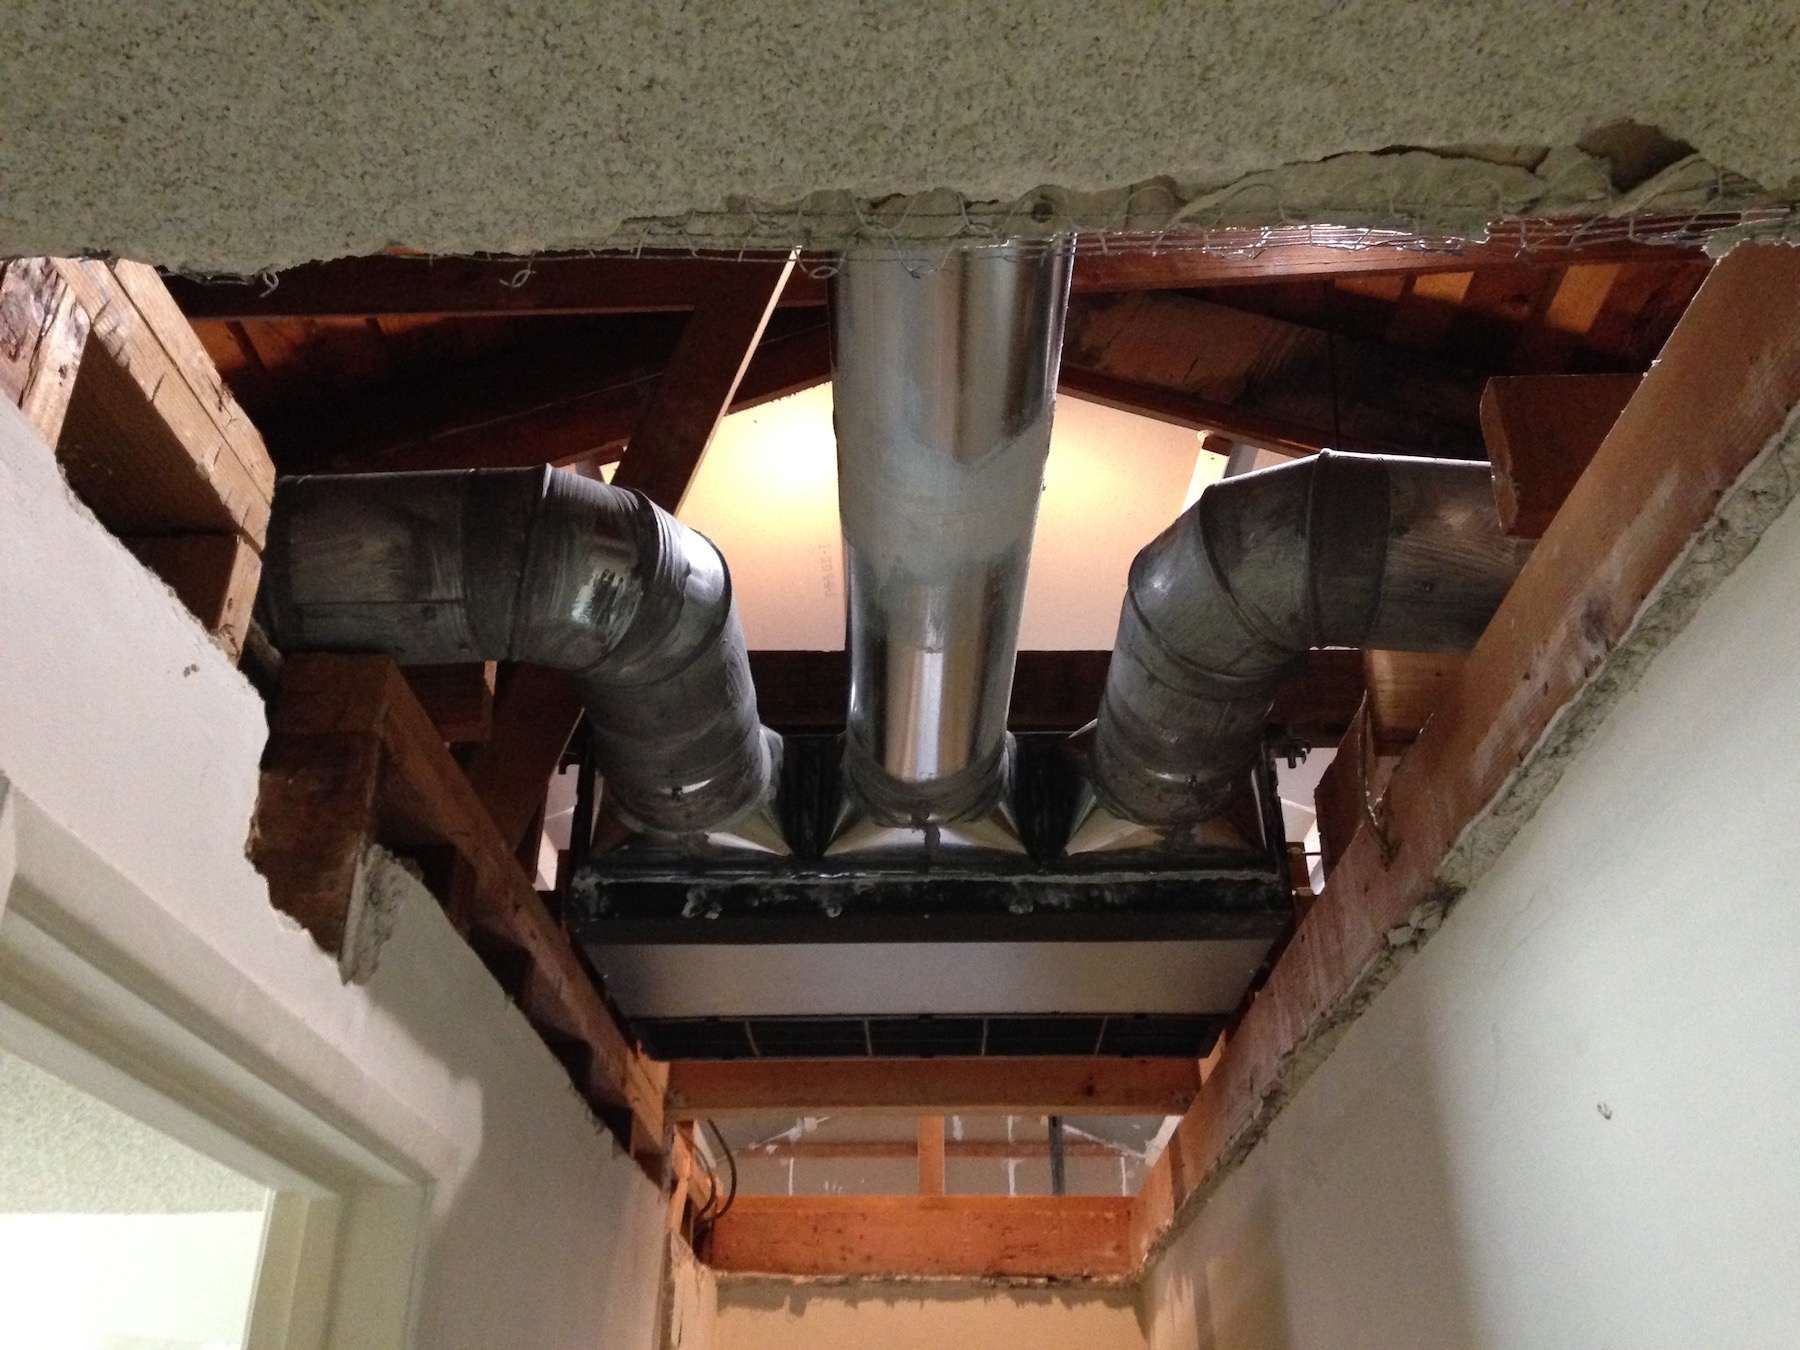
Since we have 3 bedrooms, we needed 3 ducts to come out of this unit. Instead of ordering special parts (custom work is expensive), Chris decided to hand-make his own 3-branch transition apparatus.
He bought 3 boots from an HVAC store and fit them into his creation.
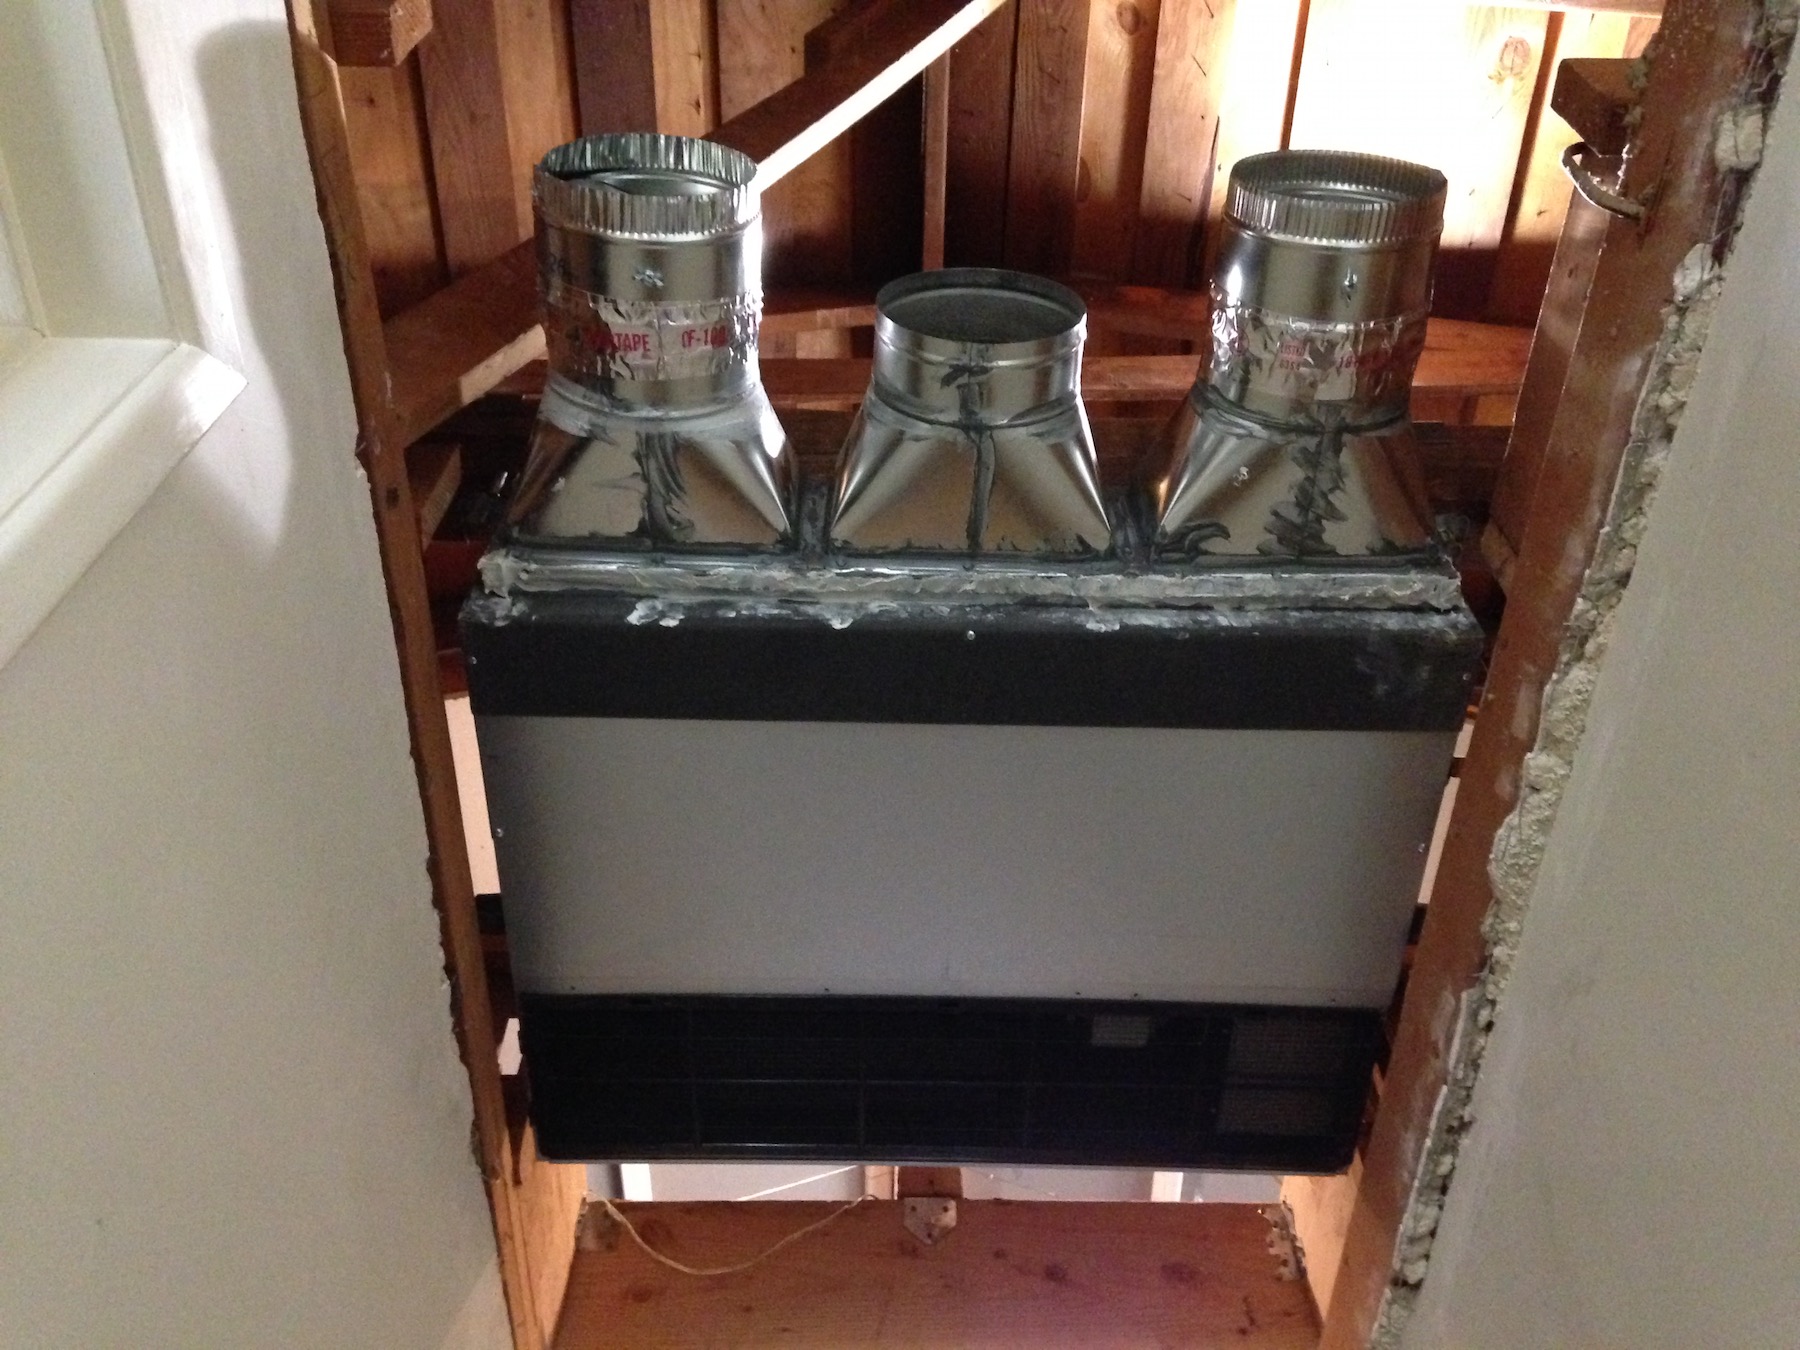
It fits into the ceiling unit! Nice work, Chris.
Here you can see the 3 ducts branching out into the 3 bedrooms.
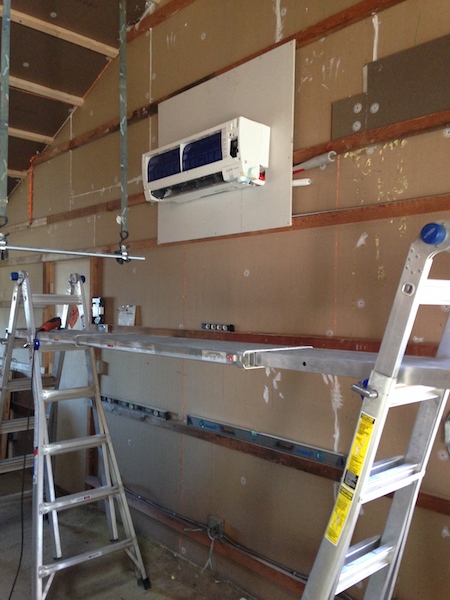
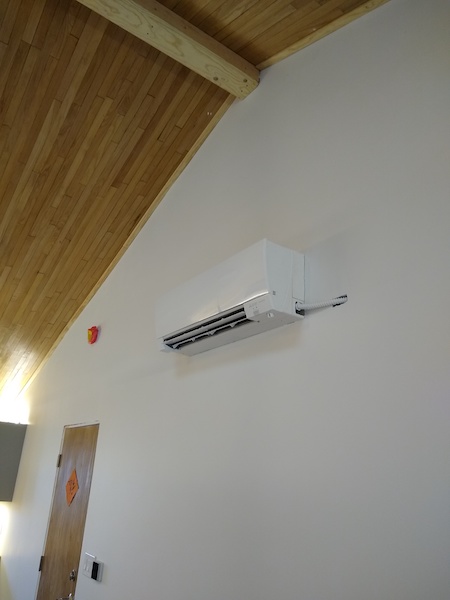
Here is the wall unit, which is ductless (way less complicated) and spits cooled/heated air into the common area (living room, dining room, and kitchen).
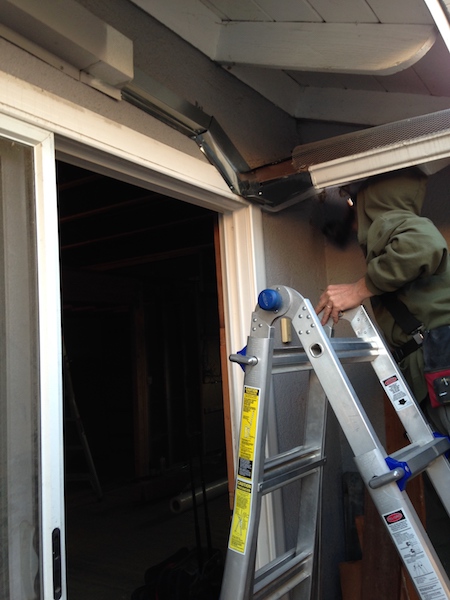
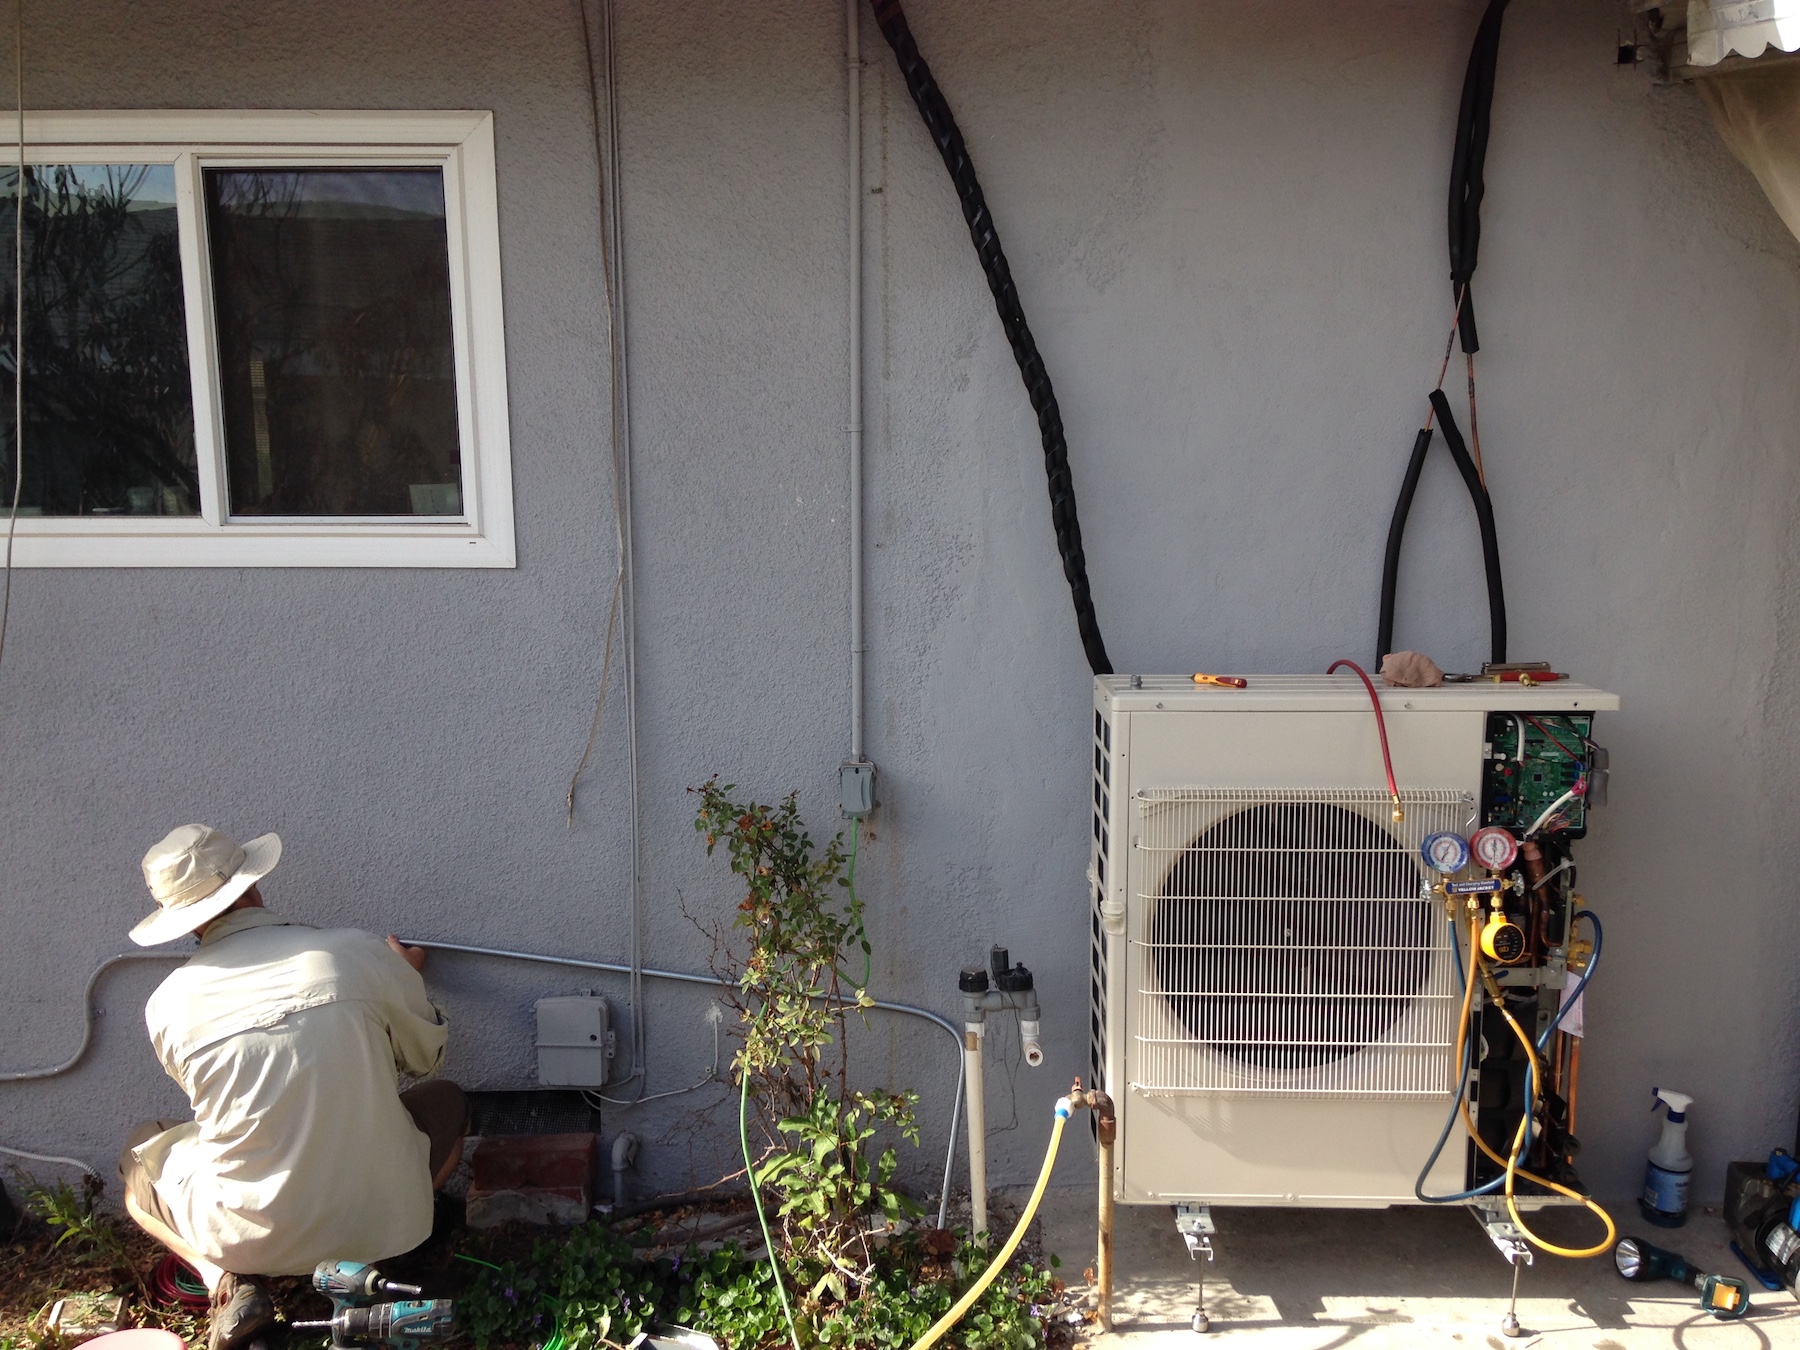
Chris ran the refrigerant lines and electrical wiring from the wall unit to the outdoor unit along the outside of the house. Not the prettiest thing, but it allows us to avoid the risk of moisture (from condensation) inside our walls.
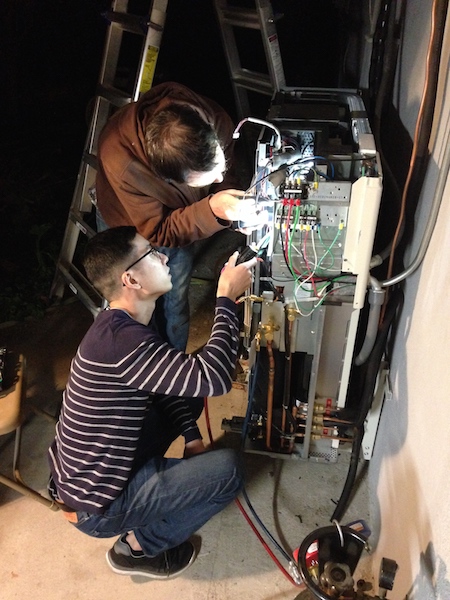
Here’s Chris wiring the outdoor unit:
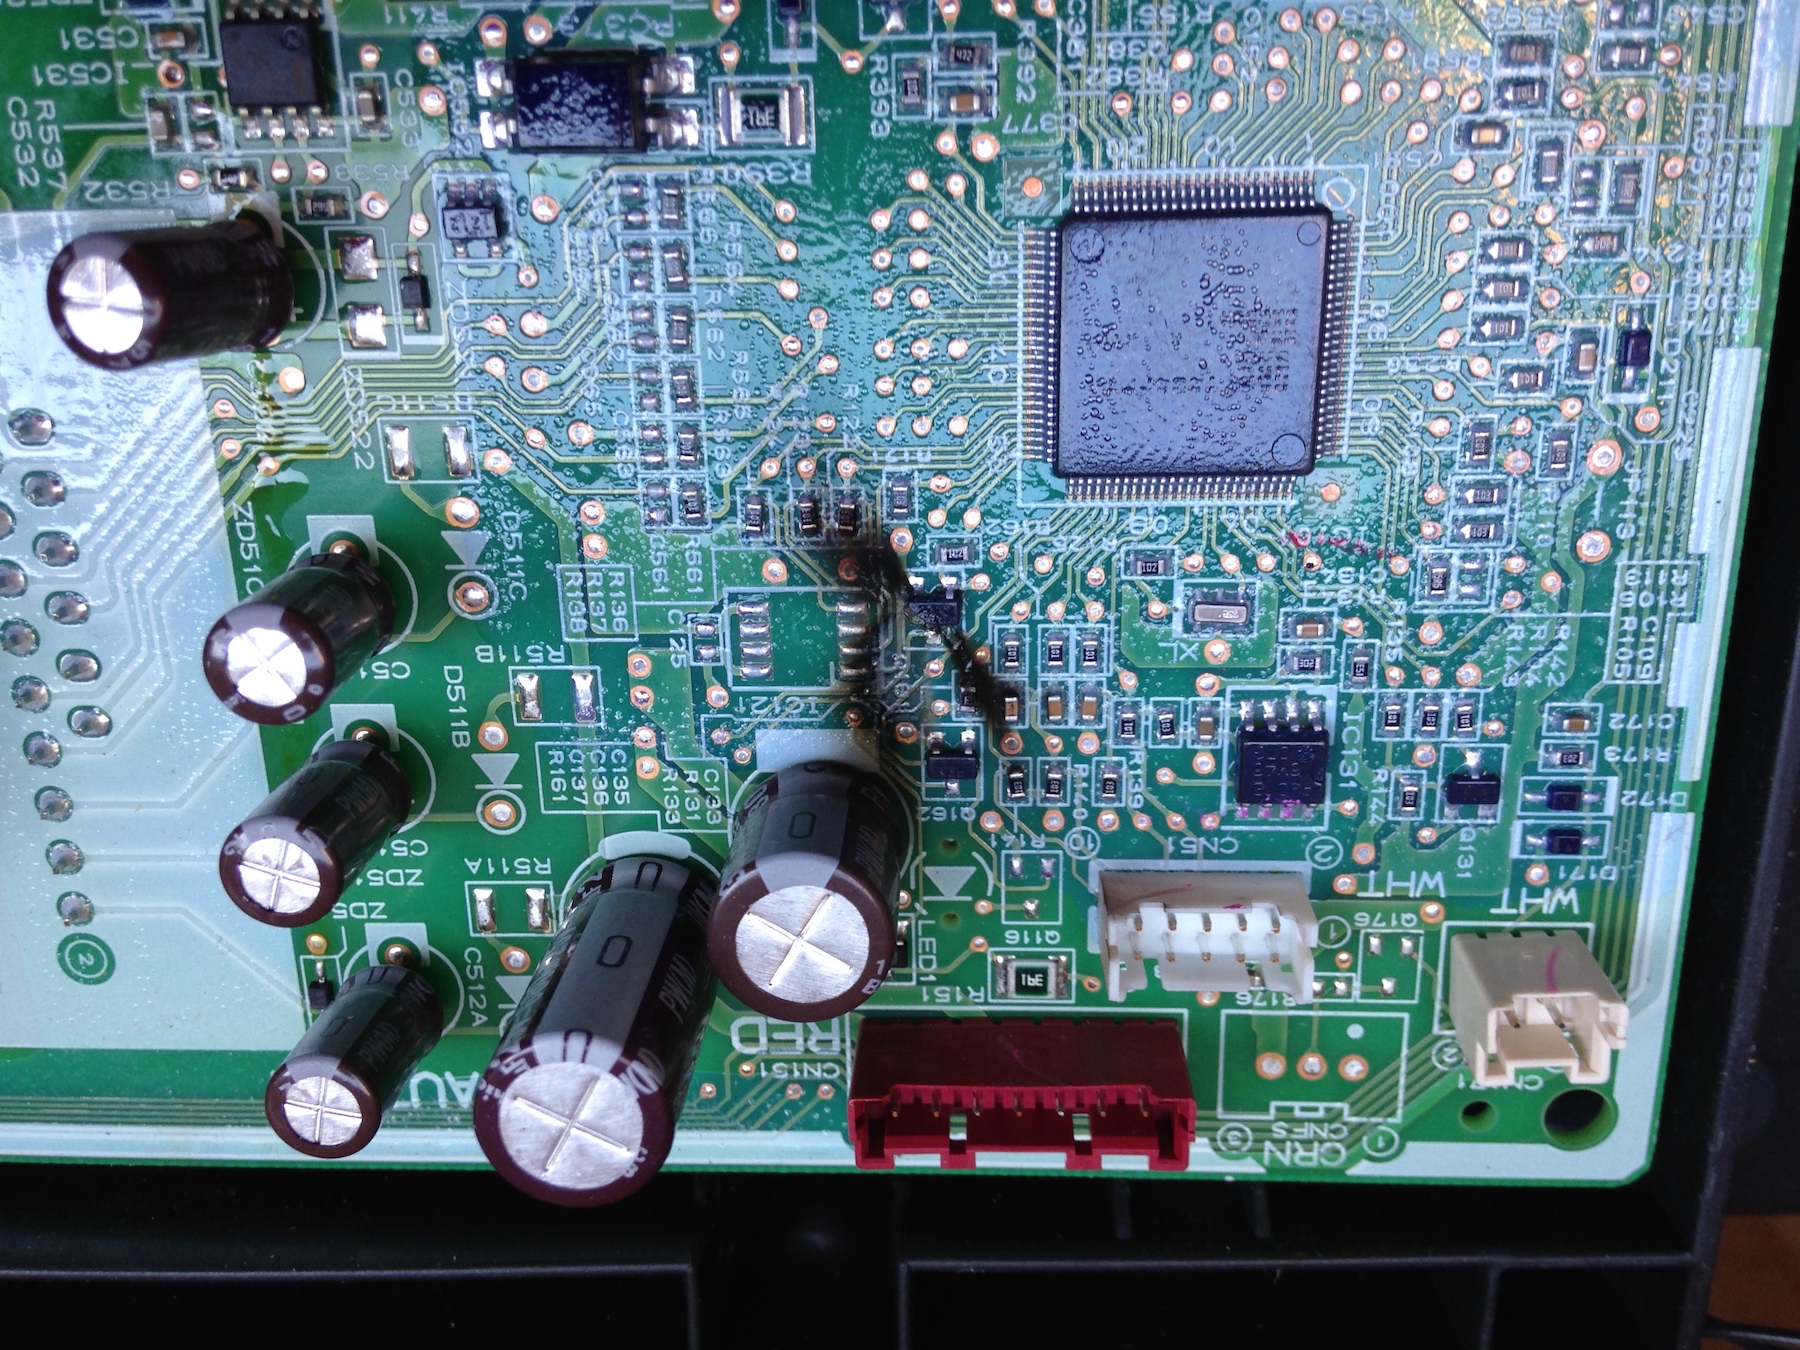
Unfortunately, we had a bit of an electrical snafu with the outdoor unit. Somehow, while pulling the electrical wires through the wall, some wire insulation got stripped off. So when Chris tried to turn on the outdoor unit for the first time, there was a short circuit and we heard a small pop inside the outdoor unit.
The unit refused to turn on. Chris spent many hours attempting to troubleshoot and fix the problem. Our friend Gavin (who has a degree in electrical engineering) even came over to try to help.
But alas, it was not fixable. Below you can see the burn marks in the circuit board of the outdoor unit. Totally fried. We had to order a new circuit board. :( Once we put in the new one, though, everything worked like a charm.
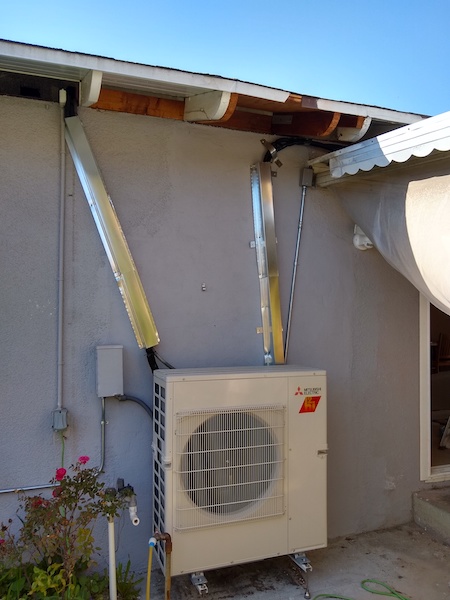
Here’s the repaired, working outdoor unit, which powers the 2 indoor units:
Here’s the hall unit (seen from below), which heats/cools the 3 bedrooms (I call it the Sea Turtle):
And here’s the wall unit, which heats/cools the common area of the house:
Huzzah! We now have a functional mini split system. Due to the improved insulation in our house and the greater efficiency of the mini split, we are consuming way less energy to heat and cool our home than before. For example, the house’s AC system dropped from a capacity 3.5 tons of cooling to just 1.75 tons of cooling. Which means our AC electricity use has been cut in half! And it’s much quieter, we no longer need to burn fossil fuels for heating, and we can also adjust the temperatures for different rooms. Pretty sweet.
WIRING
Electrical work is often something that people consider too scary to DIY. But if you have a comfortable understanding of how electrical systems work and you are careful and attentive, it is something you can do yourself (and save a LOT of money doing). As our friend German says, you don’t have to be scared of electricity, but you should respect it.
Our entire house had to be rewired because none of our old circuits were grounded, and the locations and number of electrical outlets were not up to current code. Also, since we were electrifying our house (replacing gas appliance with electric versions), we needed to add more circuits, including some high-voltage ones. A lot of work!
While wires are usually housed within Romex cable (vinyl plastic), Chris decided to use wiring encased in metal conduit, such as MC (metal clad) cable. This protects the wires in the shallow service cavity from accidental punctures (e.g. when someone puts a nail into the wall to hang up a photo).
Here you can see him and Bin wiring our soon-to-be kitchen. There was lots of hole-drilling and pulling on long, friction-y, non-cooperating cables.
It looks like a mess, but Chris knows what he’s doing. I think. :)
For the high voltage 240V circuits (we have a lot since we are electrifying the house), Chris and Bin had to run loooooong wires through looooong empty metal housing (flex conduit). It was like threading the longest straw ever (if the straw was heavy and wobbly).
Here’s the wiring for our kitchen. Looks crazy!
Chris loves wiring.
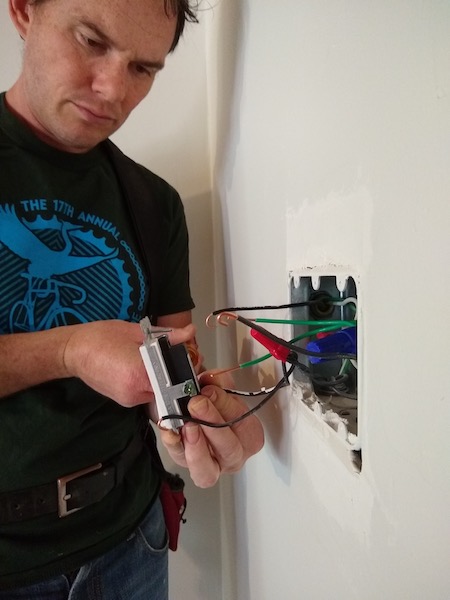
Here’s Chris working on a future light switch.
All twisted up and tucked in.
Connecting switches to the wires!
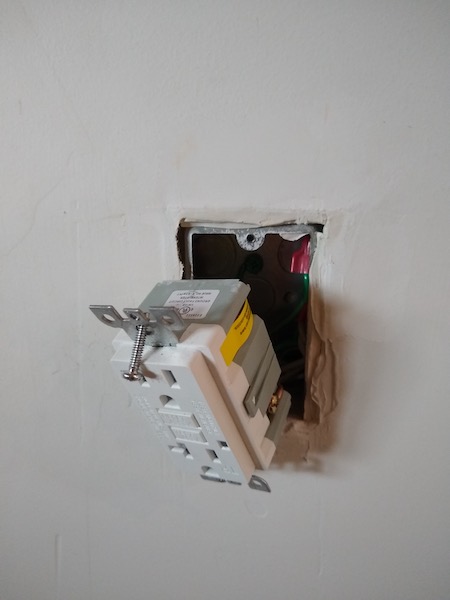
And an outlet is born.
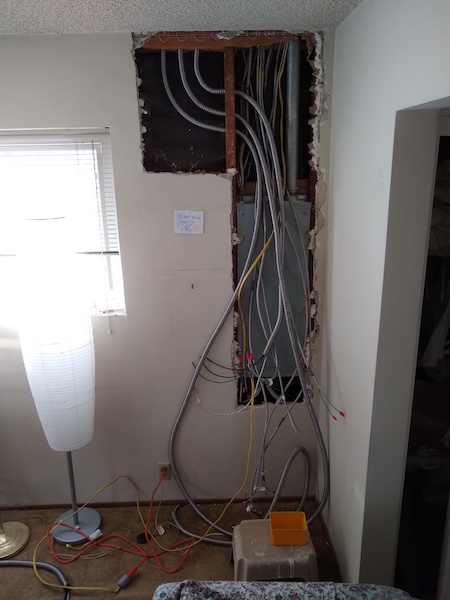
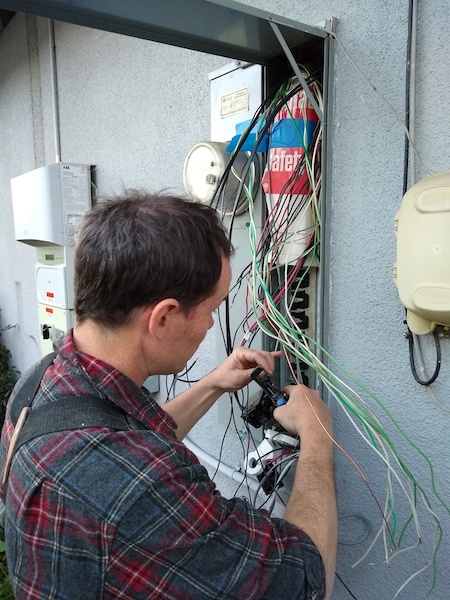
Here’s the back of our service panel, where ALL the electrical circuits of the house meet!
The front of the service panel. There are a lot of wires to keep track of, but the concept is simple: complete the loop for each circuit.
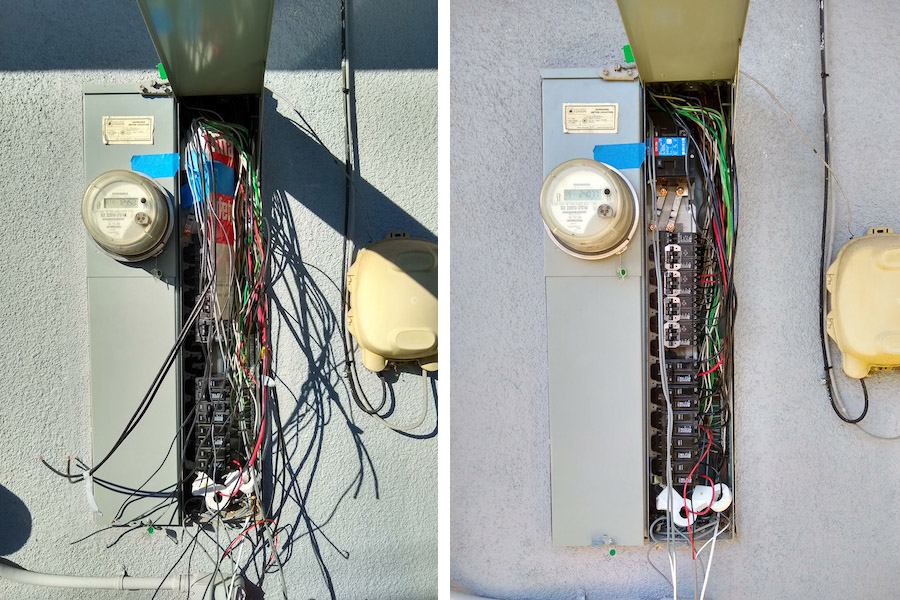
Left: New, unconnected wires in the service panel. Right: All the new wires connected to their proper circuit breaker. Nice and organized. Kind of.
You may have noticed that it’s rather crowded in our service panel. Turns out a 100% electrified house needs a lot of circuits! In the end, our home will need about 25 separate circuits, so while this is currently workable during renovation, (spoiler alert!) we will eventually need to put in a subpanel to increase the physical space for our circuits and keep them tidy.
See more epic house updates:
